
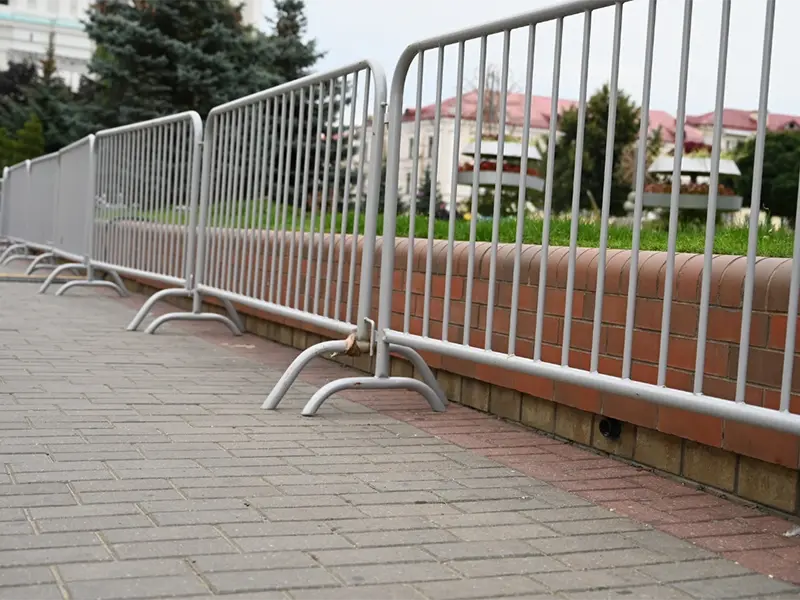
Choose the foot arrangement for the planned route
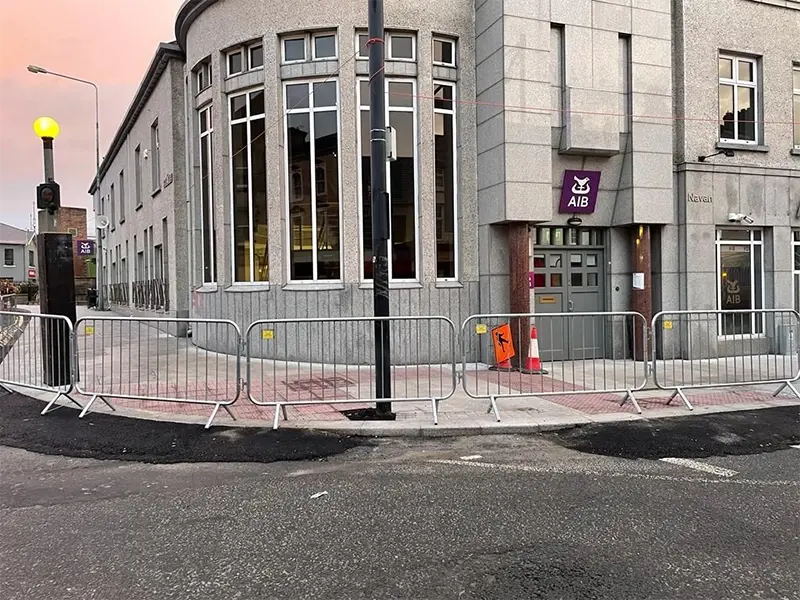
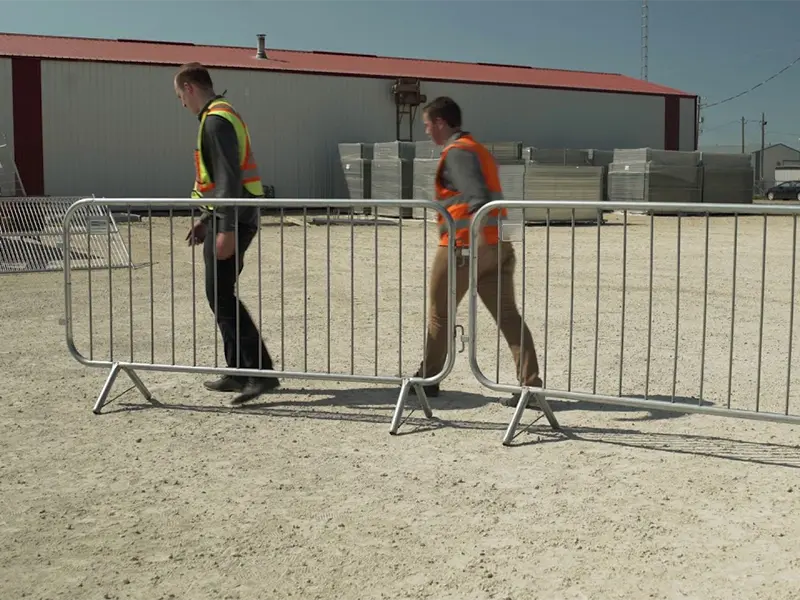
Fixed and removable feet produce different handling and storage requirements. Show the foot projection on the route plan so it can be considered alongside the walking surface, access width and likely pedestrian movement.
A low-profile foot still needs to be assessed for its location. Do not assume that a particular foot makes every surface or route suitable.
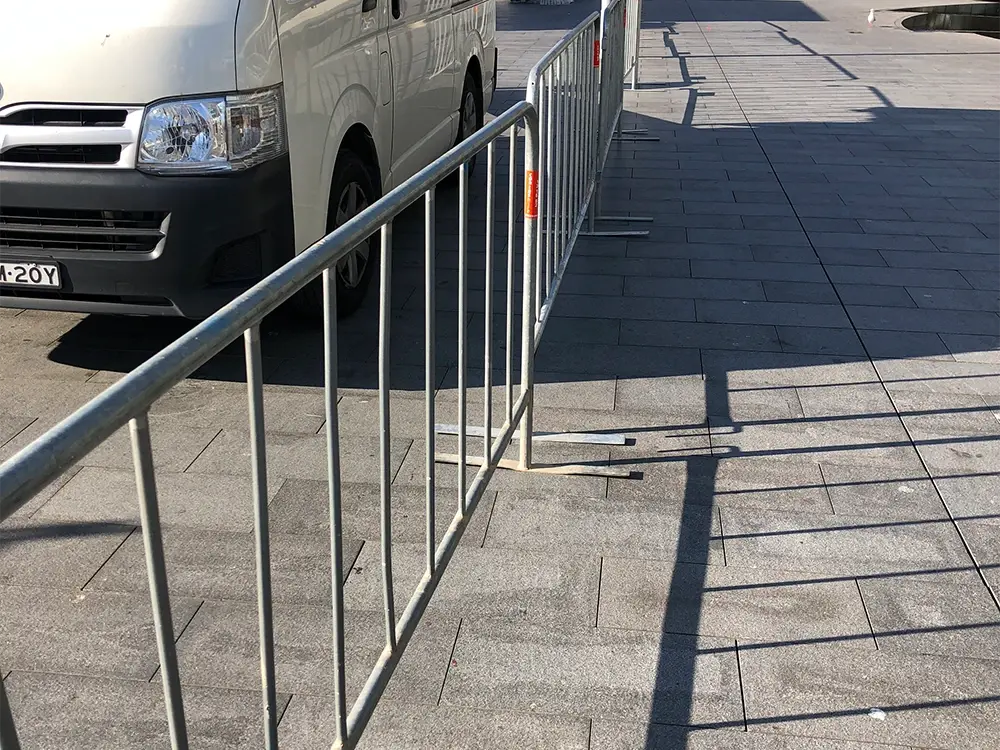
Match the links between panels
Hook and loop positions, frame size and connection geometry control whether two barrier types join correctly. For replenishment, provide measurements of both sides of an existing joint.
At the end of a run or at an access point, consider how the line terminates and how authorised staff will open it. A straight sequence of linked panels does not describe every operational detail.
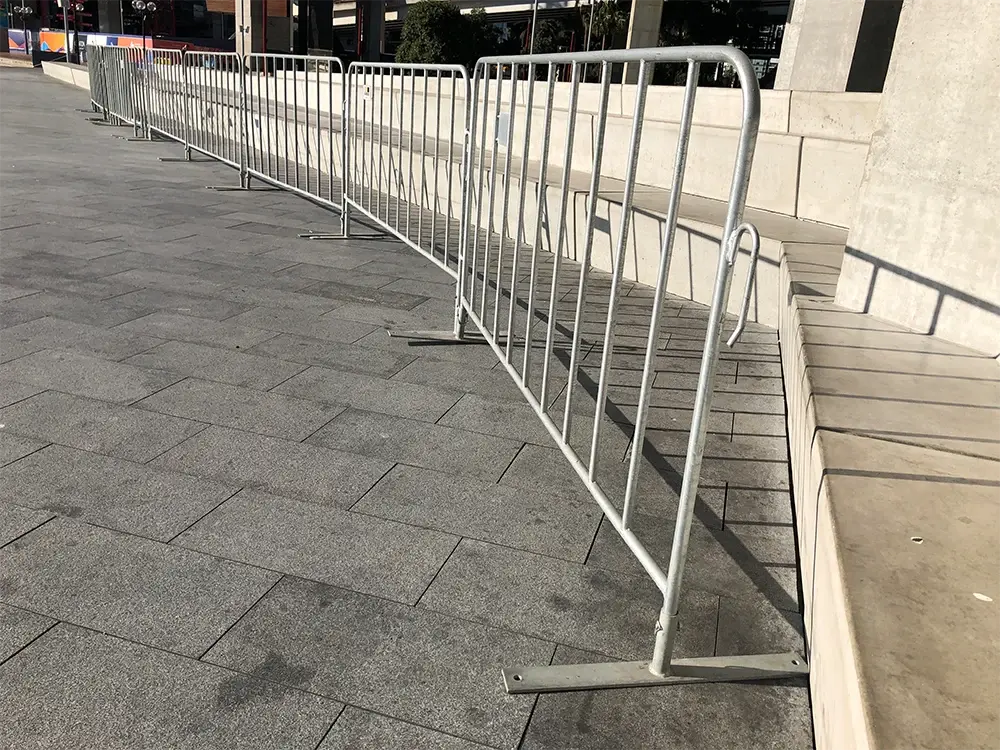
Define the duty before choosing a barrier
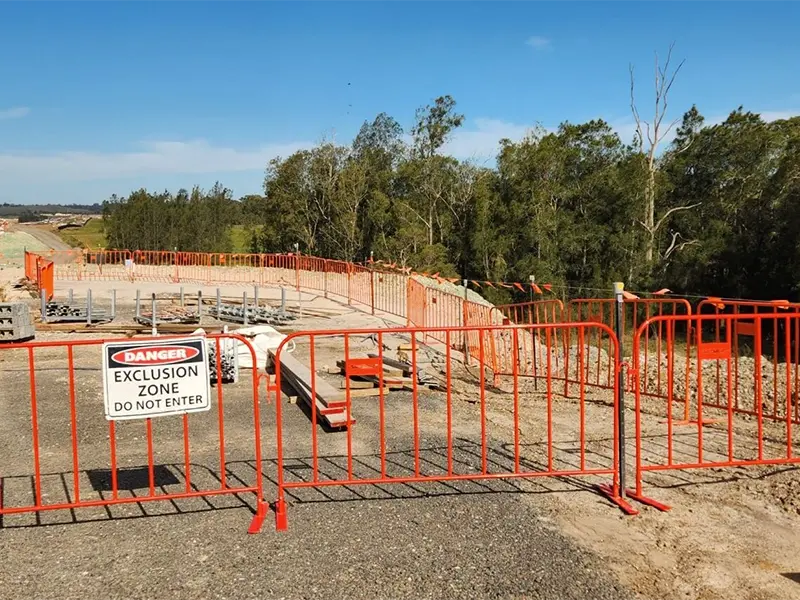
Pedestrian guidance, dense-crowd restraint and vehicle protection are different requirements. Where a specified load or impact duty applies, obtain evidence for the proposed barrier assembly and layout. Do not infer that capacity from appearance or weight.
For a taller site boundary, review temporary fencing as a separate product group.
Count the parts that move with the panels
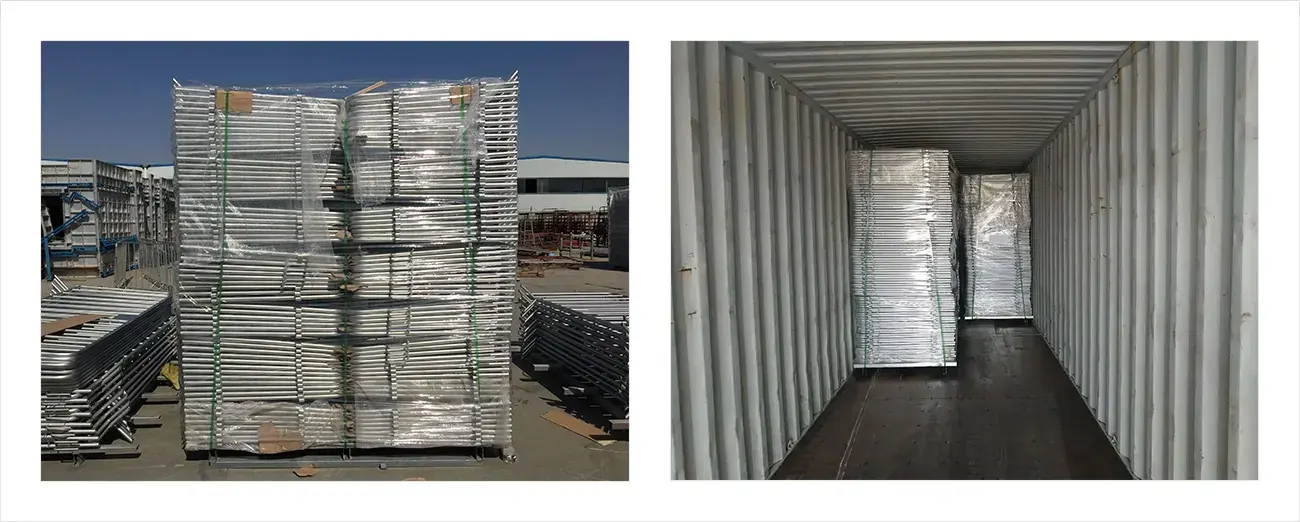
List panels, removable feet, connectors and any storage or handling equipment included in the order. Agree the finish and label references for similar-looking components.
On receipt and before reuse, check visible frame damage, foot security and the condition of connecting points. Retain the component list so replacements do not introduce incompatible links into an otherwise usable stock.