
Start with the purpose of each boundary
Keep the external perimeter, younger pupils’ play area and sports enclosure on separate lines of the inspection sheet. They serve different purposes. An internal divider should not inherit the external perimeter specification simply because both appear on the same drawing.
In England, the Department for Education’s school and college security guidance provides the security assessment context. It does not turn a fence supplier’s preferred height into a universal legal requirement. Record the project’s approved requirement alongside the source that established it.
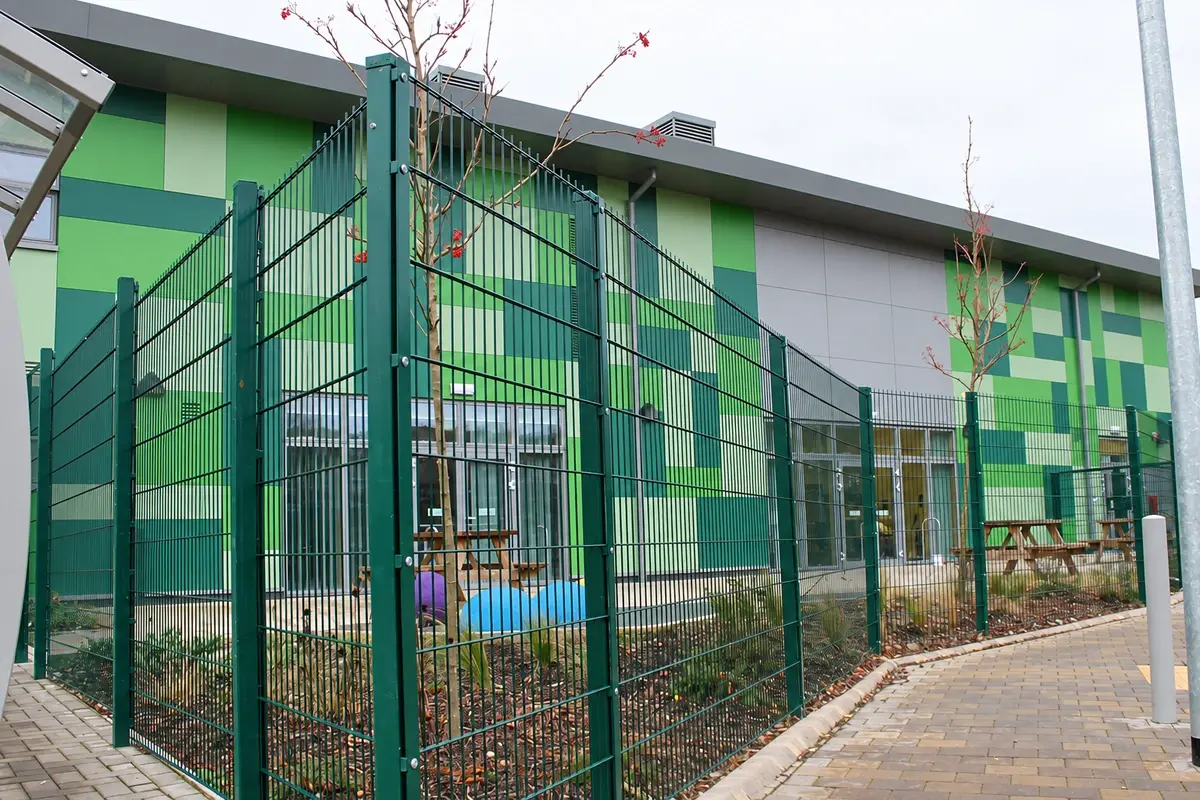
Measure the height that the finished ground leaves
For each run, note the panel identifier, ground level on both sides, top level and any local steps. Measure vertically; a tape following a sloping panel gives a different dimension. Include raised planting beds and changes at paving edges in the survey.
Consider an illustrative fence top 2,000 mm above the original ground. If new paving raises the accessible ground by 120 mm, the resulting local height is 2,000 − 120 = 1,880 mm. This arithmetic identifies a change for review; neither number is a recommended school fence height.
Measure several positions where levels change rather than averaging them. A run with one local discrepancy is not cleared because its average height matches the schedule. Mark the location on the drawing so the designer can decide whether the ground detail or fence detail needs revision.
Openings need their own measurements
| Location | Record | Why the panel data alone is insufficient |
|---|---|---|
| Mesh or rail infill | Clear opening and measuring direction | Centre spacing includes material thickness |
| Under the panel | Largest observed local gap and location | Ground variation changes the installed gap |
| Panel meeting a post | Finished gap and connection detail | The joint may differ from the infill |
| Gate hinge and latch sides | Gaps through the operating movement | A moving joint cannot be assessed only when closed |
Compare these observations with the applicable design and safety assessment. Do not perform improvised entrapment tests with children or use a hand as a test probe. Where a formal test is required, use the specified equipment and competent procedure.
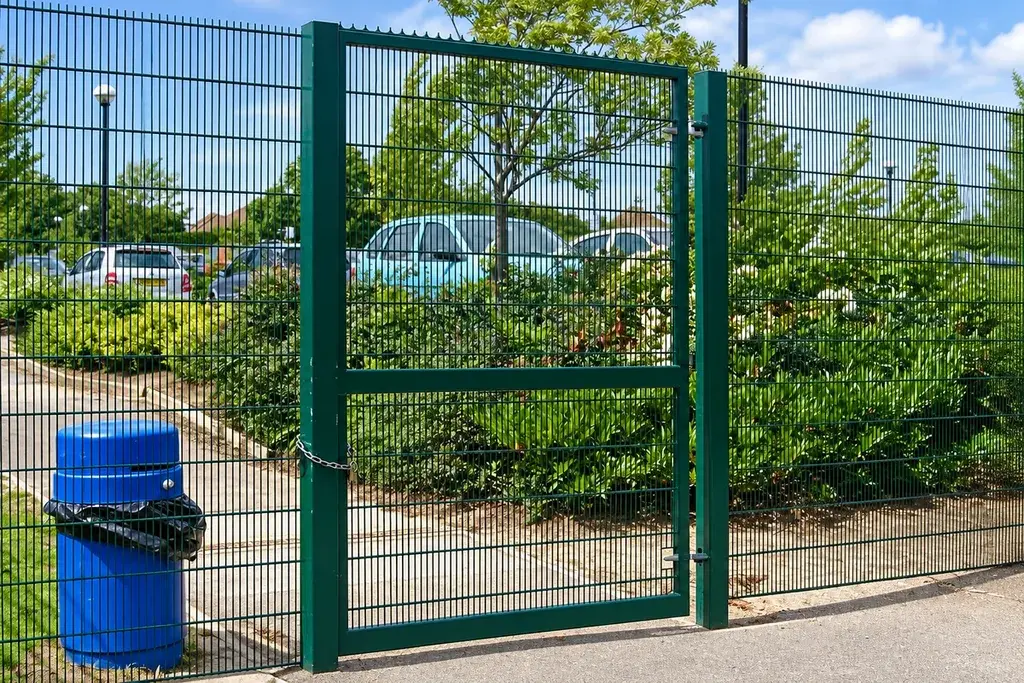
Walk through the gate’s actual uses
Arrange the review with the school’s responsible staff. Check normal pedestrian entry, the delivery route and the agreed emergency operating arrangement separately. A gate that opens for a delivery vehicle may still be inconvenient for supervised pupil movement.
Record clear passage with the leaf in its intended open position, whether the leaf intrudes into a route, and whether closing and latching work as specified. Note any change in ground clearance during movement. For powered gates, the competent gate specialist should assess the assembled installation; HSE’s gate safety guidance addresses hazards arising from the complete system and its use.
Close the inspection with a decision, not a tick
Use four outcomes: matches the approved requirement; measured discrepancy; required evidence missing; specialist review needed. Give each unresolved item an owner and an agreed next action. Photograph the location with its identifier and retain the drawing revision used for comparison.
After repairs or landscaping, revisit the affected measurements and operating checks. Keep the original result so the change is traceable. For the wider allocation of school areas, use the school zoning guide. This inspection sheet records how the installed boundary compares with the accepted plan.