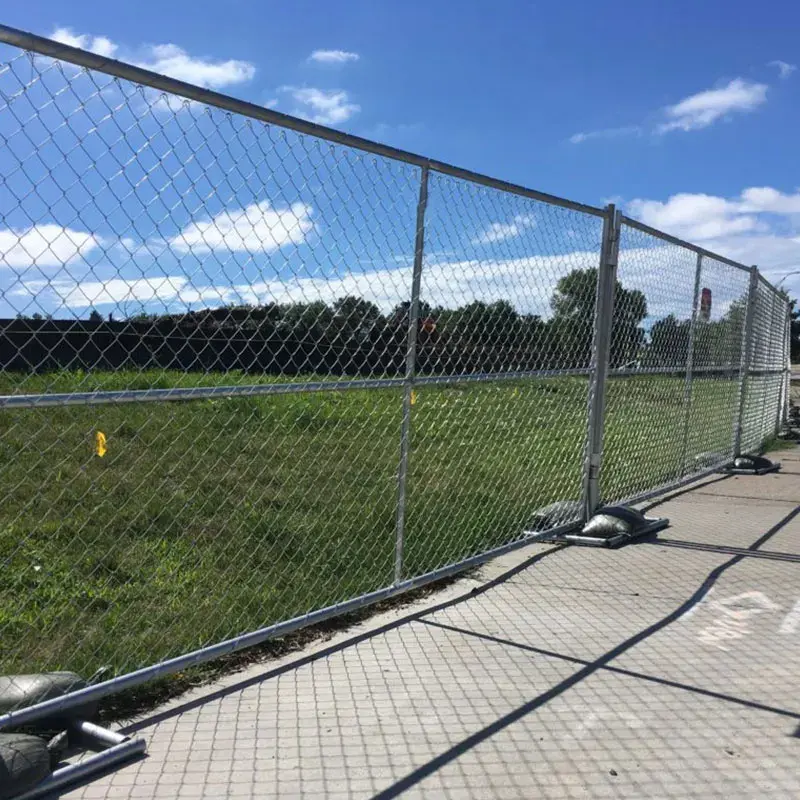
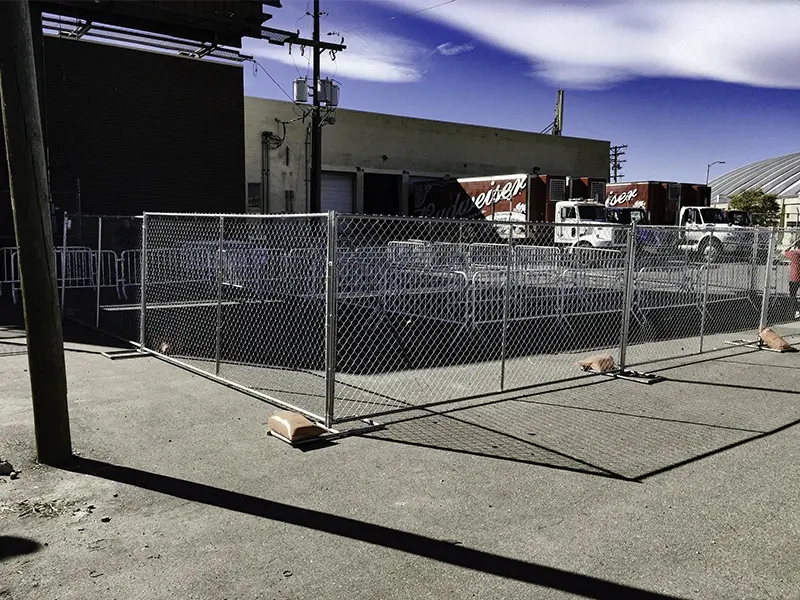
Specify fabric and frame independently
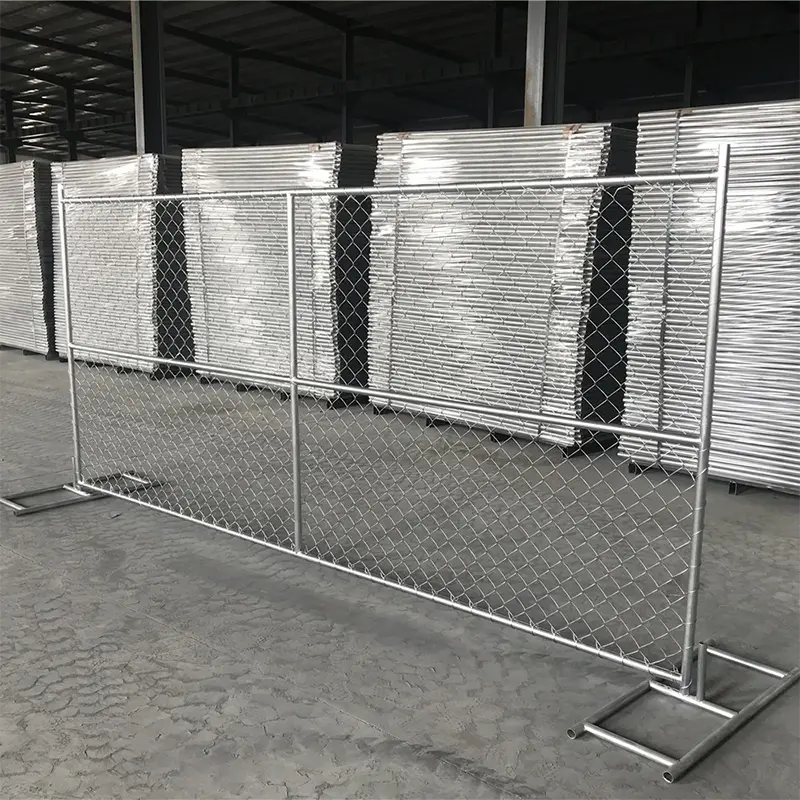
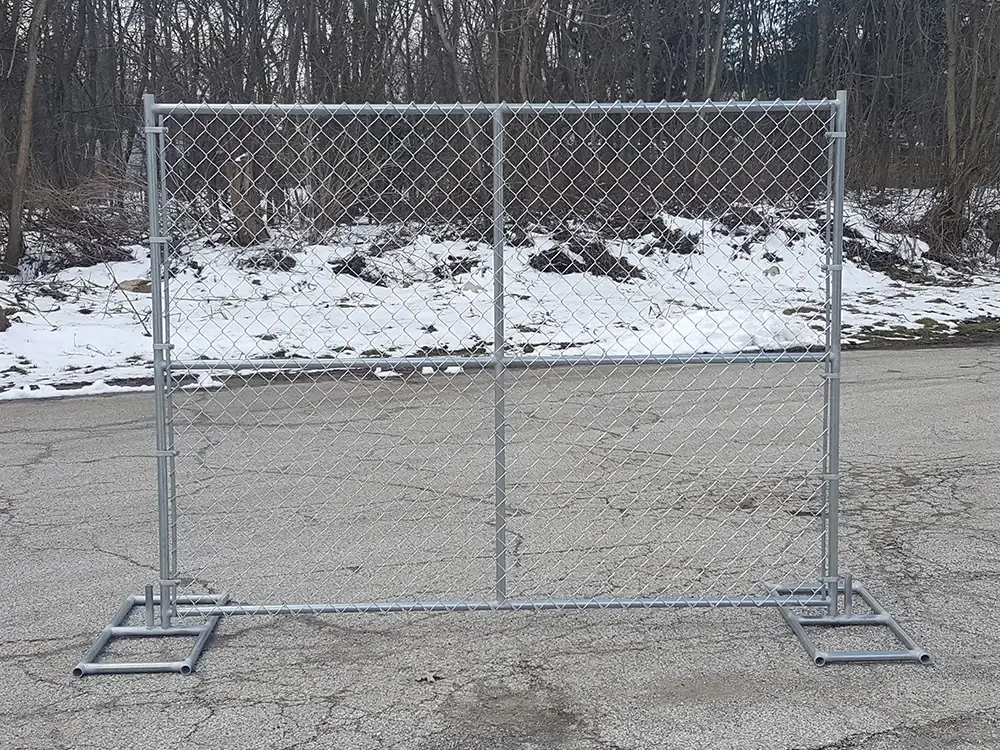
Record the wire diameter and mesh opening alongside the frame tube dimensions and wall thickness. Include any internal brace and the method used to attach fabric to the frame.
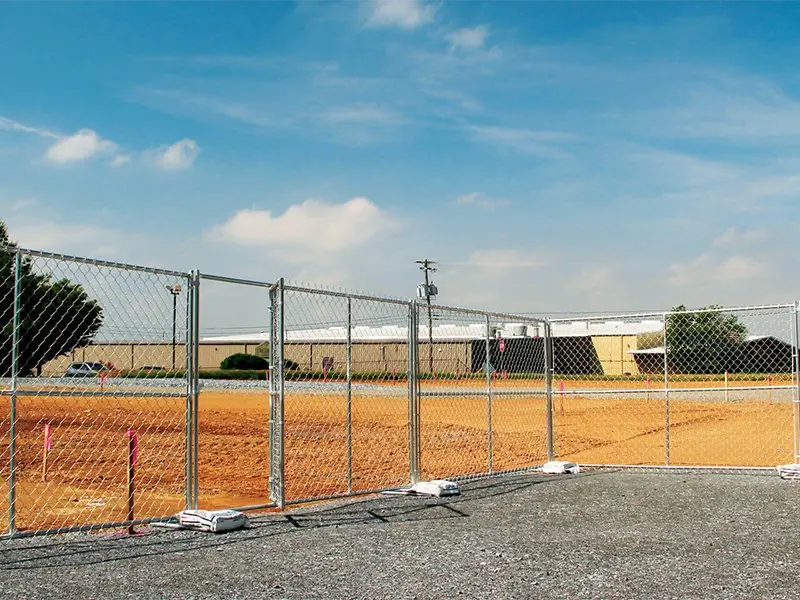
The panel outline does not describe the clear gaps at the perimeter or the way cut wire ends are finished. Show those details where the temporary boundary will be accessible to people.
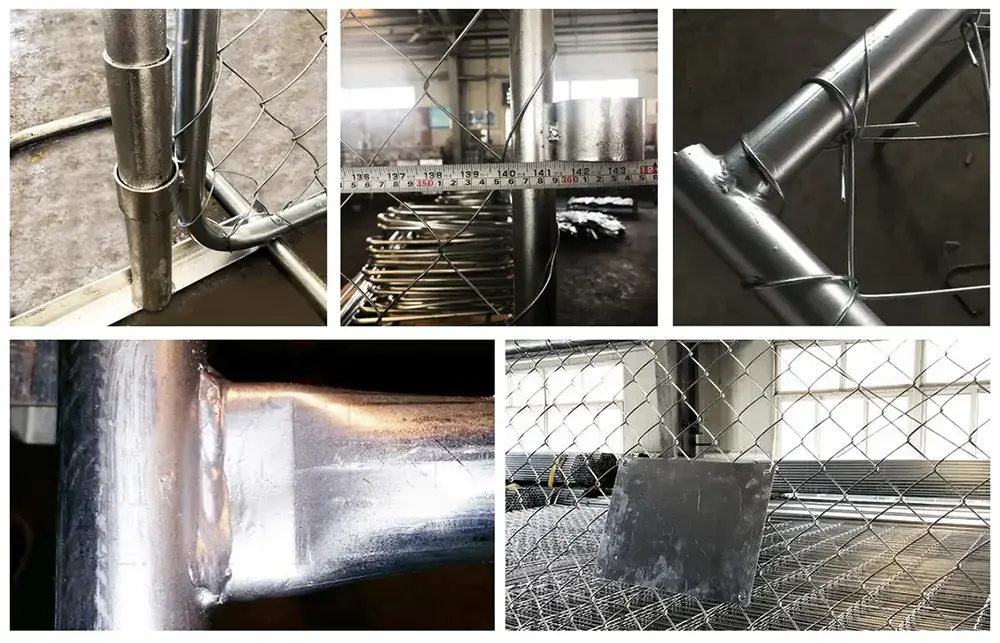
Extend an existing run without guessing
Measure the existing panel height, leg positions, frame diameter and connector interface. Supply an assembled-joint photograph as well as loose-part measurements. Check that replacement feet accept the panel legs and suit the specified arrangement.
A connector that fits the tube may still leave the panels at a different spacing. Use the complete joint detail when assessing compatibility.
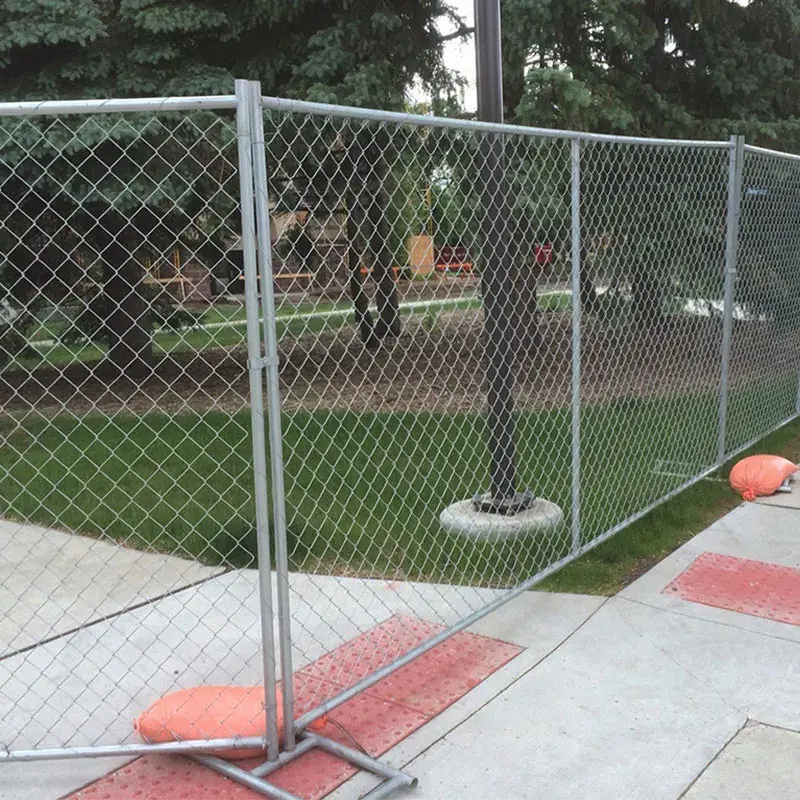
Organise the material package by boundary section
| Schedule group | Include |
|---|---|
| Regular runs | Panels, connectors and specified supports |
| Corners and ends | The separately detailed restraint arrangement |
| Access | Opening widths and gate connections |
| Spare parts | Identified clamps, ties and other agreed items |
Any proposed screening, banners or added equipment should be considered in the site support design. Temporary installation does not remove the need to assess exposure and stability.
Prepare for transport and the next deployment
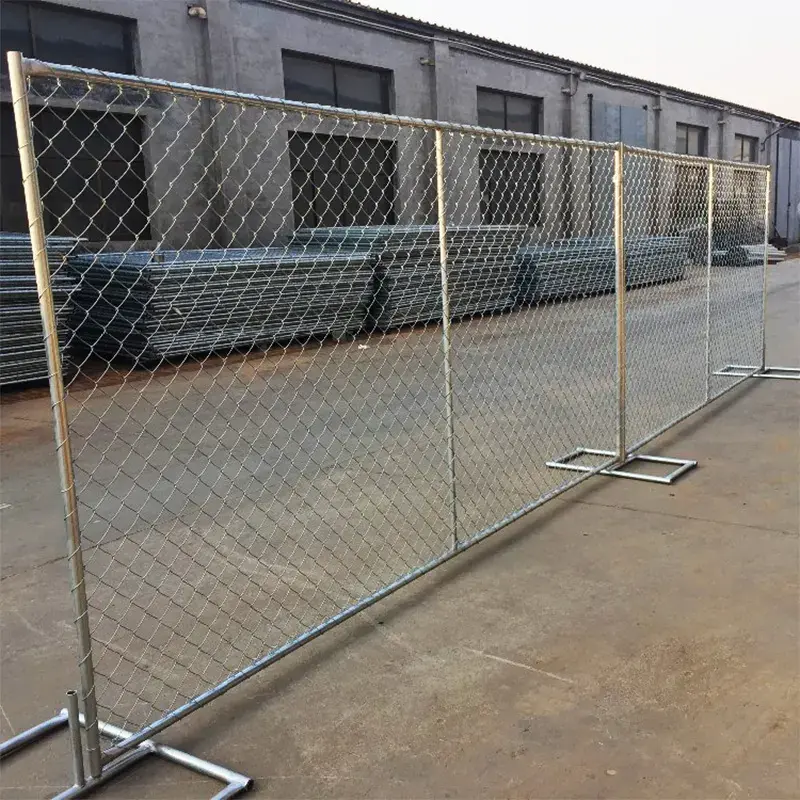
Group frames so projecting connectors do not damage adjoining fabric. Retain pack labels and the component reference list. Check ties, frame distortion and support fittings before panels return to use.
Compare temporary welded mesh fencing if the project requires a rigid welded infill. The choice should account for the whole assembly and the equipment already held.