
Establish the measuring references
Record whether the drawing dimensions refer to wire centres, clear openings or overall material size. For graduated mesh, identify the spacing in each horizontal band. Keep the top and bottom wire positions visible in the record instead of reducing the pattern to one mesh-size label.
Measure installed height vertically from the relevant finished ground to the defined fence top. Record conditions on both sides when they affect the use. A sloping tape measurement is not the same as vertical height.
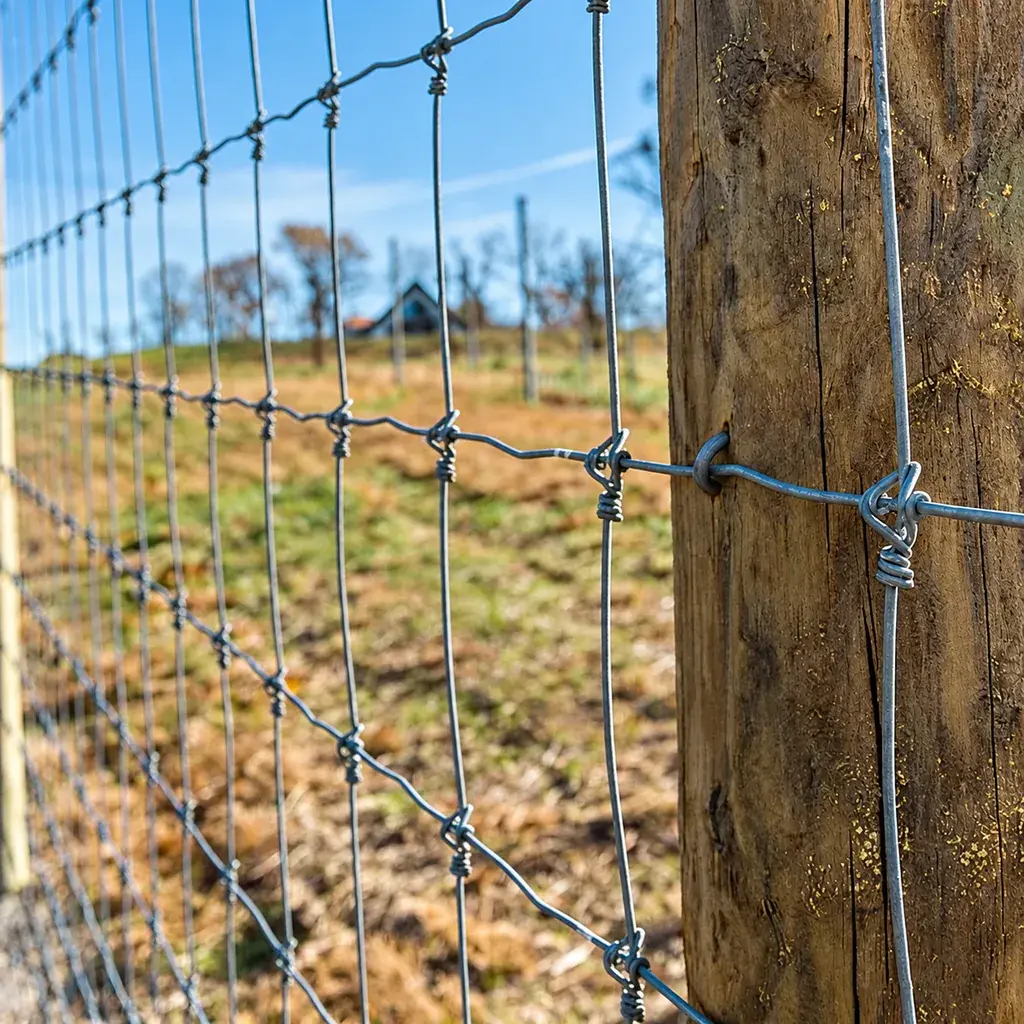
Find local changes, not an average
Suppose a hypothetical design places the fence top 1,220 mm above a reference ground line. At one location the finished ground is 80 mm higher. With the fence top unchanged, the local height becomes 1,140 mm.
This is a survey calculation, not a recommended livestock fence height. Whether 1,140 mm is acceptable depends on the approved animal-specific requirement. Record the location and refer the difference for a decision; averaging it with taller sections would hide the issue.
| Survey item | Record |
|---|---|
| Raised ground | Location, level change and resulting height |
| Depression | Local bottom opening and extent |
| Gate approach | Surface level and opening throughout movement |
| Change of slope | Approved transition and observed mesh condition |
| Drainage crossing | Separate design detail and inspection responsibility |
Match the opening pattern to the approved use
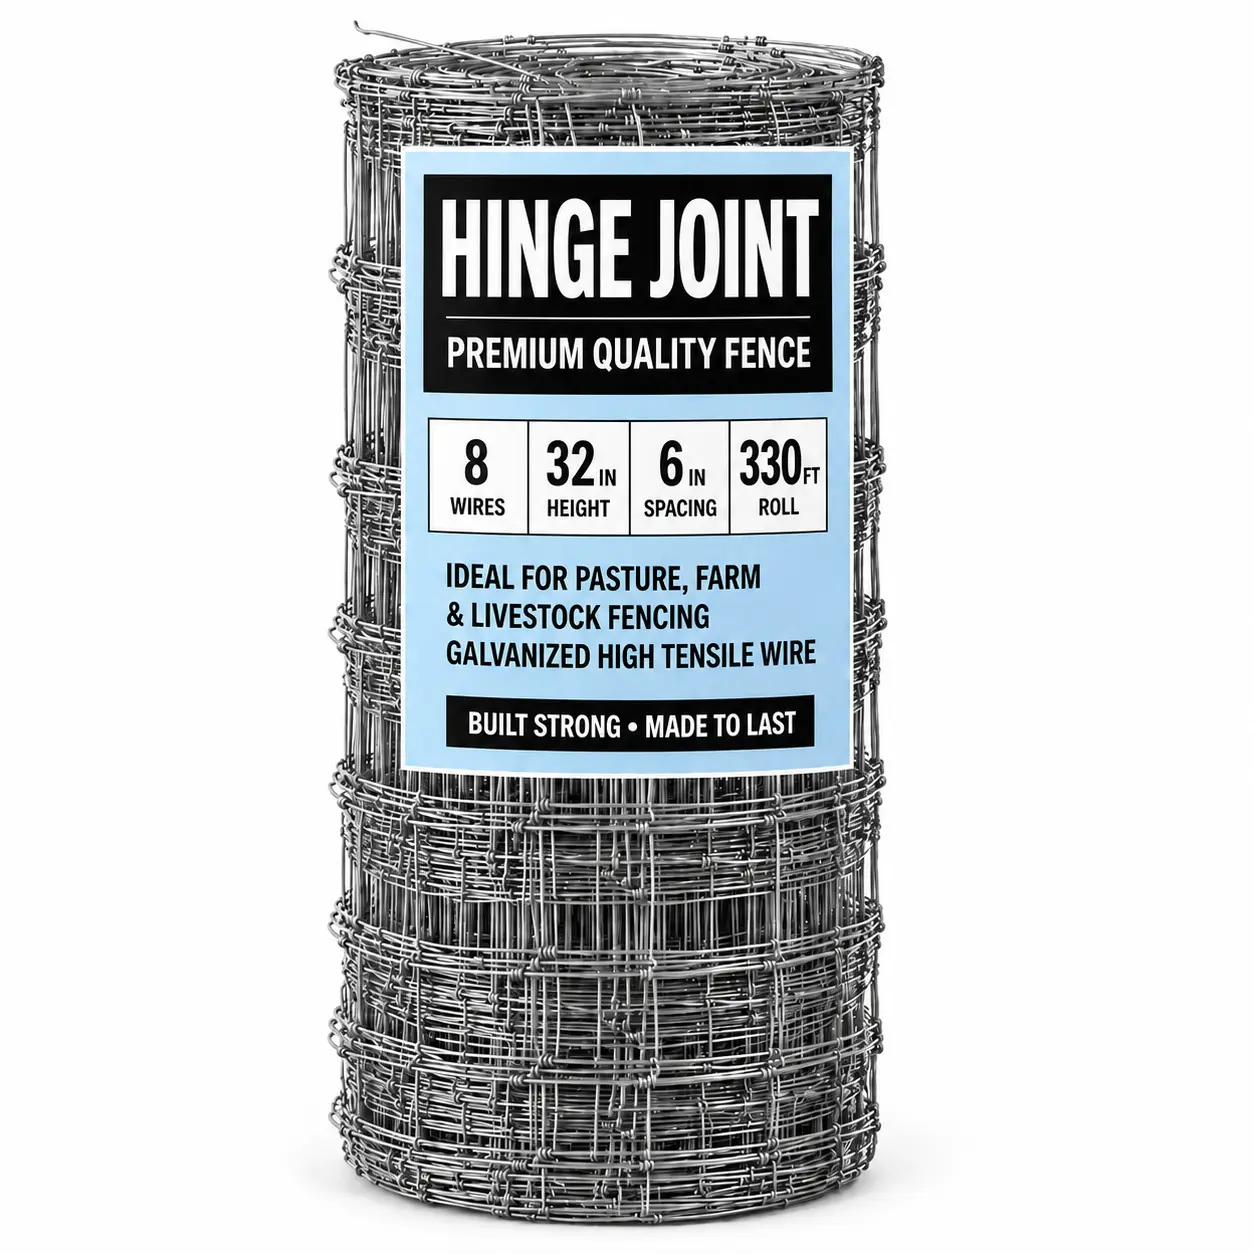
Confirm the animal group, including young stock, before accepting an opening pattern. Keep the responsible animal-management assessment with the drawing, and assess the proposed mesh against the actual animals and management conditions.
Compare several specified locations on the sample or installed run. Where the acceptance method calls for particular gauges or tests, use that method through a competent person. Do not improvise entrapment checks with animals.
Separate correction from acceptance
If the survey finds an unacceptable local condition, identify whether it arises from ground levels, setting-out, the selected pattern or a damaged component. Have the corrective detail agreed before work proceeds. Adding loose material under a fence or stretching a mesh beyond its intended arrangement can introduce new problems.
After correction, repeat the affected measurements and retain both records. Update the as-built drawing where the accepted solution changes the original detail.
Keep a useful maintenance baseline
Store dated photographs and location references for slopes, gates and drainage crossings. Later erosion, deposited material or landscaping can change the installed geometry even when the wire remains undamaged.
Use the baseline to identify change and prioritise competent review. The livestock selection matrix establishes the use brief; this measurement record shows whether the physical boundary continues to match it.