
Start with the gate register
Give each gate a unique identifier and record single or paired leaves, opening direction, frame detail and supporting post arrangement. Use a stated viewing direction for handedness; “left-hand” is ambiguous when two people stand on opposite sides.
For an illustrative order of eight single-leaf gates, each with an approved two-hinge arrangement, the basic hinge quantity is 8 × 2 = 16. This does not establish that every gate requires two hinges. The selected assembly determines the number and capacity.
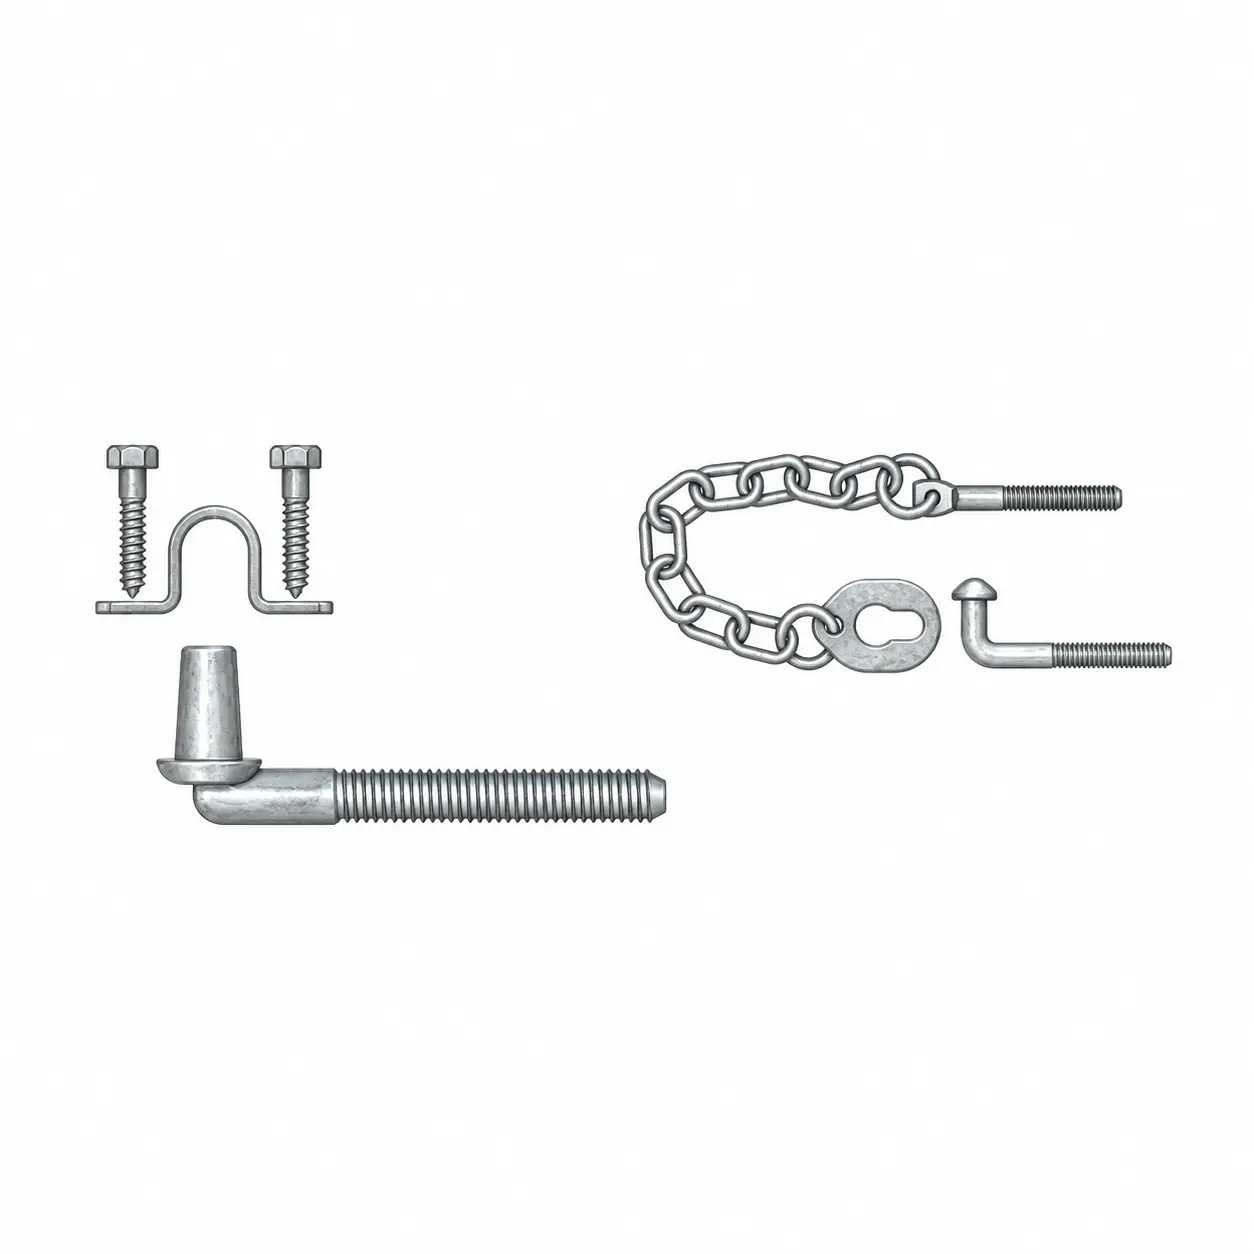
Expand the kit into actual items
| Hardware group | Fields to specify |
|---|---|
| Hinges | Quantity, supported assembly, pin or fitting dimensions, post connection |
| Latch | Gate reference, handing, operating method and receiver |
| Stops or hold-open devices | Approved position and fixing arrangement |
| Locking provision | Required device and compatible interface |
| Chain where specified | Defined purpose, attachment and suitable configuration |
| Fasteners | Size, material, finish, quantity and relevant washers or retainers |
Count receivers and post-side parts as well as components fixed to the leaf. A latch body without its matching receiver is not a complete latching arrangement.
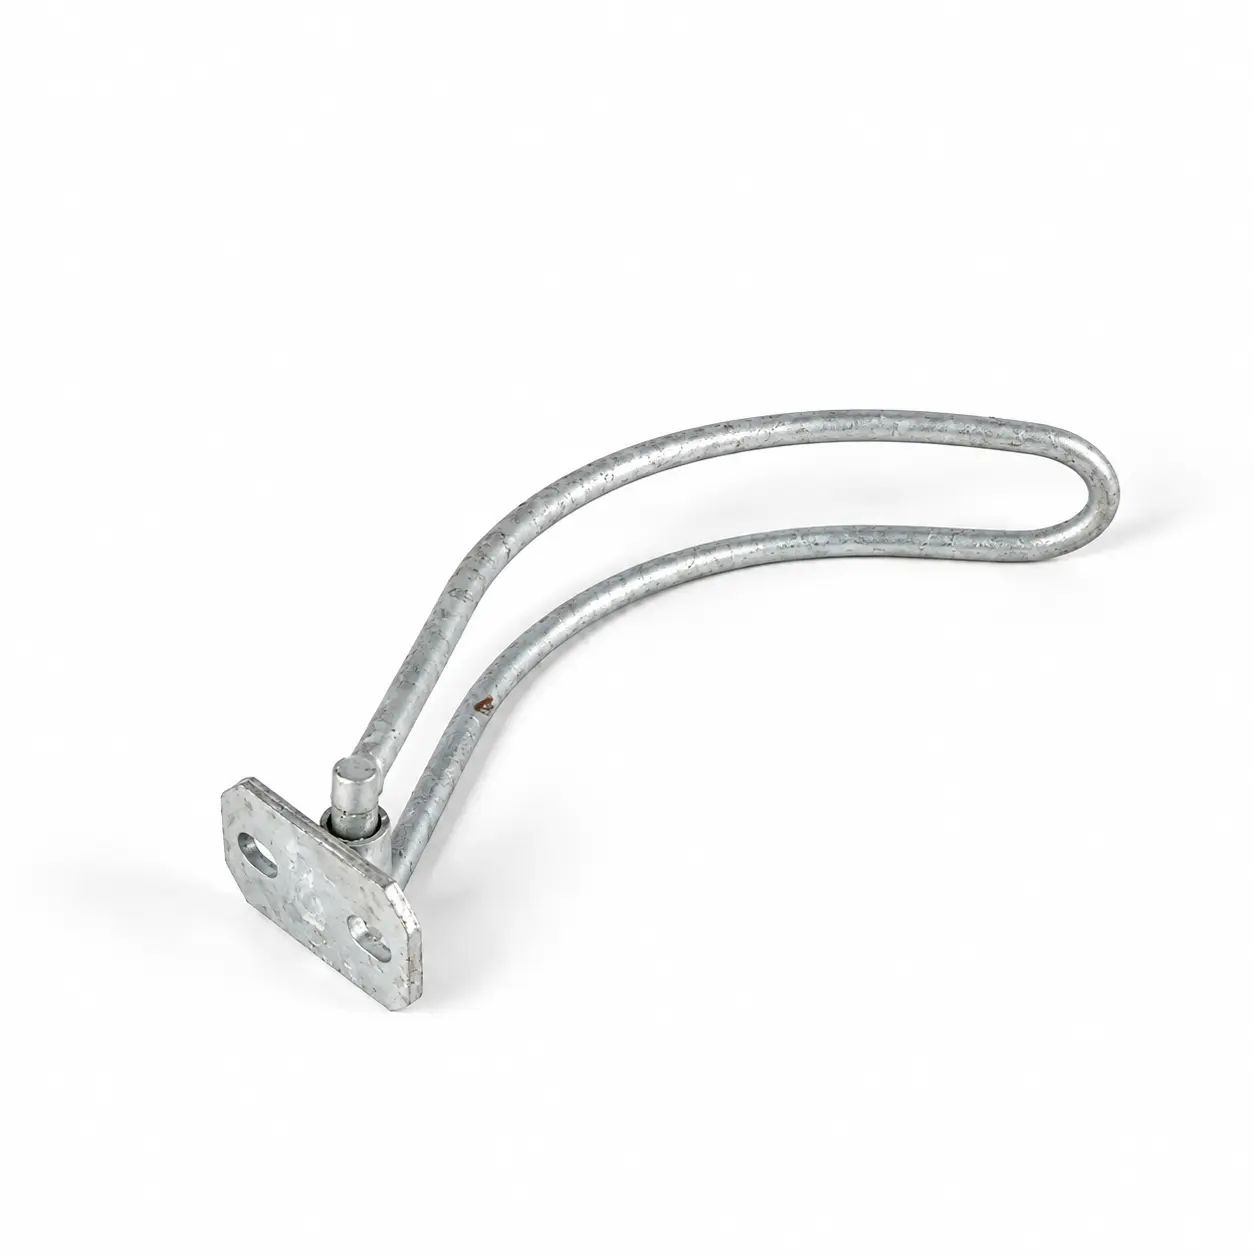
Check fit and load scope separately
A hinge may fit a frame dimension without being suitable for the complete gate. Obtain the manufacturer’s supported use and assembly requirements, including any limitations relevant to gate mass, geometry and operation.
Conversely, a hardware item with suitable stated capacity can still fail to fit the chosen post. Compare section dimensions, hole positions and adjustment range on the approved drawings. Do not enlarge or relocate holes on site without the appropriate review.
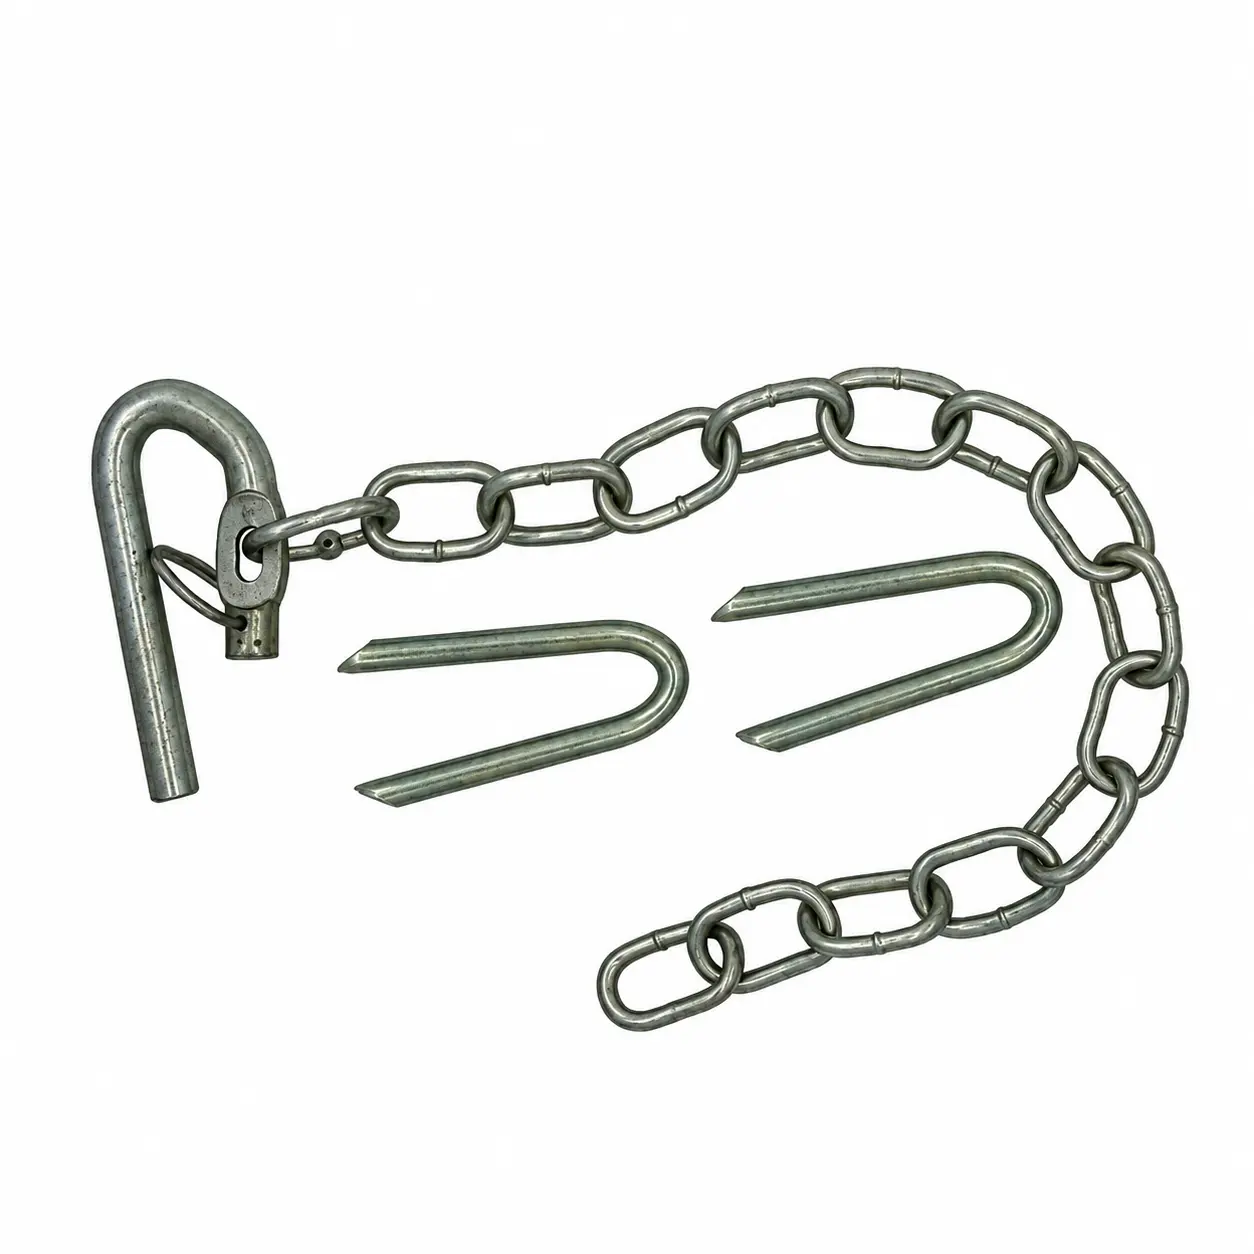
Give chains a defined job
A chain should not be treated as an automatic substitute for a designed latch, stop or hold-open device. State its purpose in the schedule and have the arrangement accepted for the intended users and animals. Keep loose or projecting parts within the project’s assessed detail.
For powered gate arrangements, use the complete system’s specialist design and instructions. Manual farm gate hardware cannot be assumed suitable for automation simply because it can be connected to an actuator.
Pack and check by gate identifier
Label hardware packs against the gate register. If several gates share parts, preserve a contents list so the installer can verify quantities before distribution. Separate any destination-specific or handed components.
At receipt, compare the 16 hinges in the example with the eight gate packs, then check latches, receivers and fasteners against their own quantities. Do not let an overall carton count replace an item count.
After assembly, verify alignment, movement and latching under the approved procedure. Record accepted adjustment and replacement references. The farm gate dimensions guide provides the measuring basis that this hardware schedule needs.