
By FencingWise Editorial Team · Updated 17 September 2026.
Record the condition before disturbing it
Identify the component, position and affected layer where visible. Take an overall photograph, a location photograph and a close-up with a scale. Record when the defect was first noticed and any recent impact, cleaning or site work.
Preserve the production and coating records. Useful information includes the substrate, preparation, metallic layer, organic system, cure records where available and any site repair.
Do not open blisters or strip a large area before agreeing the investigation, especially where evidence is needed to resolve a supplier claim. Sampling may be appropriate, but its location and purpose should be documented.
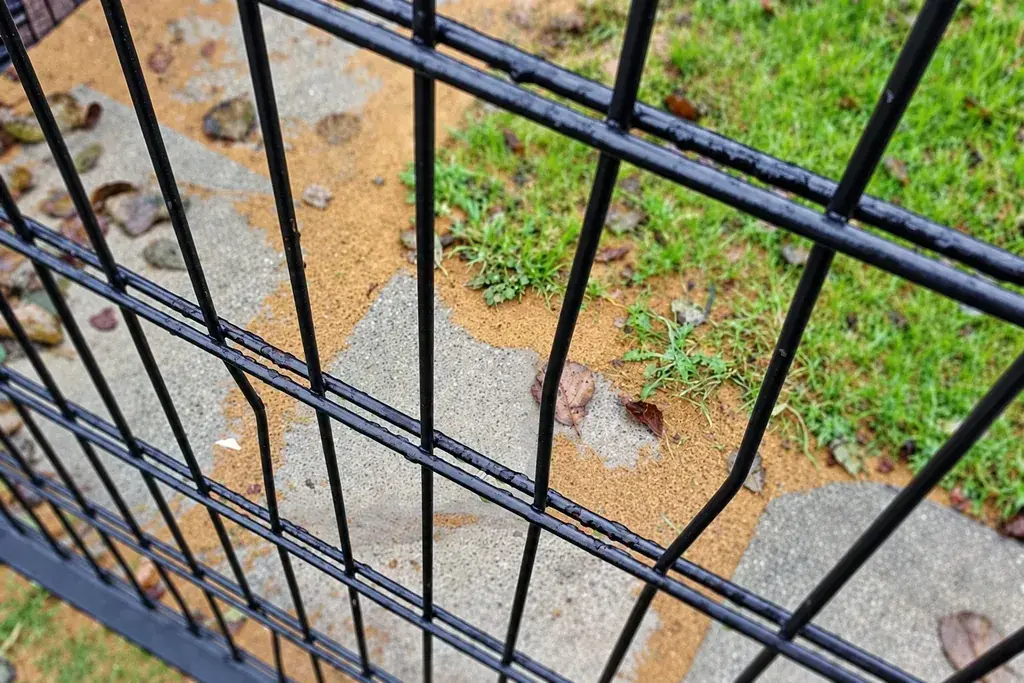
Separate the visible symptoms
| Observation | What it may indicate | What to check next |
|---|---|---|
| Deposit that transfers during suitable cleaning | Surface contamination or deposited corrosion products | Source and condition beneath it |
| Raised blister | Separation or pressure beneath a coating layer | Contents, interface and local exposure |
| Peeling at an edge | Loss of attachment or mechanical damage | Layer boundary and preparation history |
| Rust emerging from a cut or weld | Local loss or inadequacy of protection | Fabrication and repair detail |
| Repeated marks at packing contacts | Handling or storage-related damage | Packaging pattern and moisture history |
| Widespread deterioration in one lot | A possible process-related issue | Batch traceability and representative testing |
These are investigation directions, not diagnoses from a photograph. A rust-coloured deposit can originate from another object, while corrosion beneath an apparently intact film may need closer examination.

Map defects by location and production lot
A pattern can be more informative than the worst individual photograph. Separate exposed seaward faces, sheltered joints, ground-level parts and mechanically damaged areas.
For a fictional shipment of 240 panels, suppose 18 panels show peeling at similar lower-edge locations. The observed affected proportion is 18 ÷ 240 = 7.5%.
That figure describes the inspected population only. It does not prove that the other panels will remain unaffected or that every affected panel has the same cause. Record how many panels were actually examined and how the defect was defined.
If all 18 belong to one coating lot, investigate that lot's process history. If they align with one packing layer across several lots, handling or storage becomes an important line of enquiry.
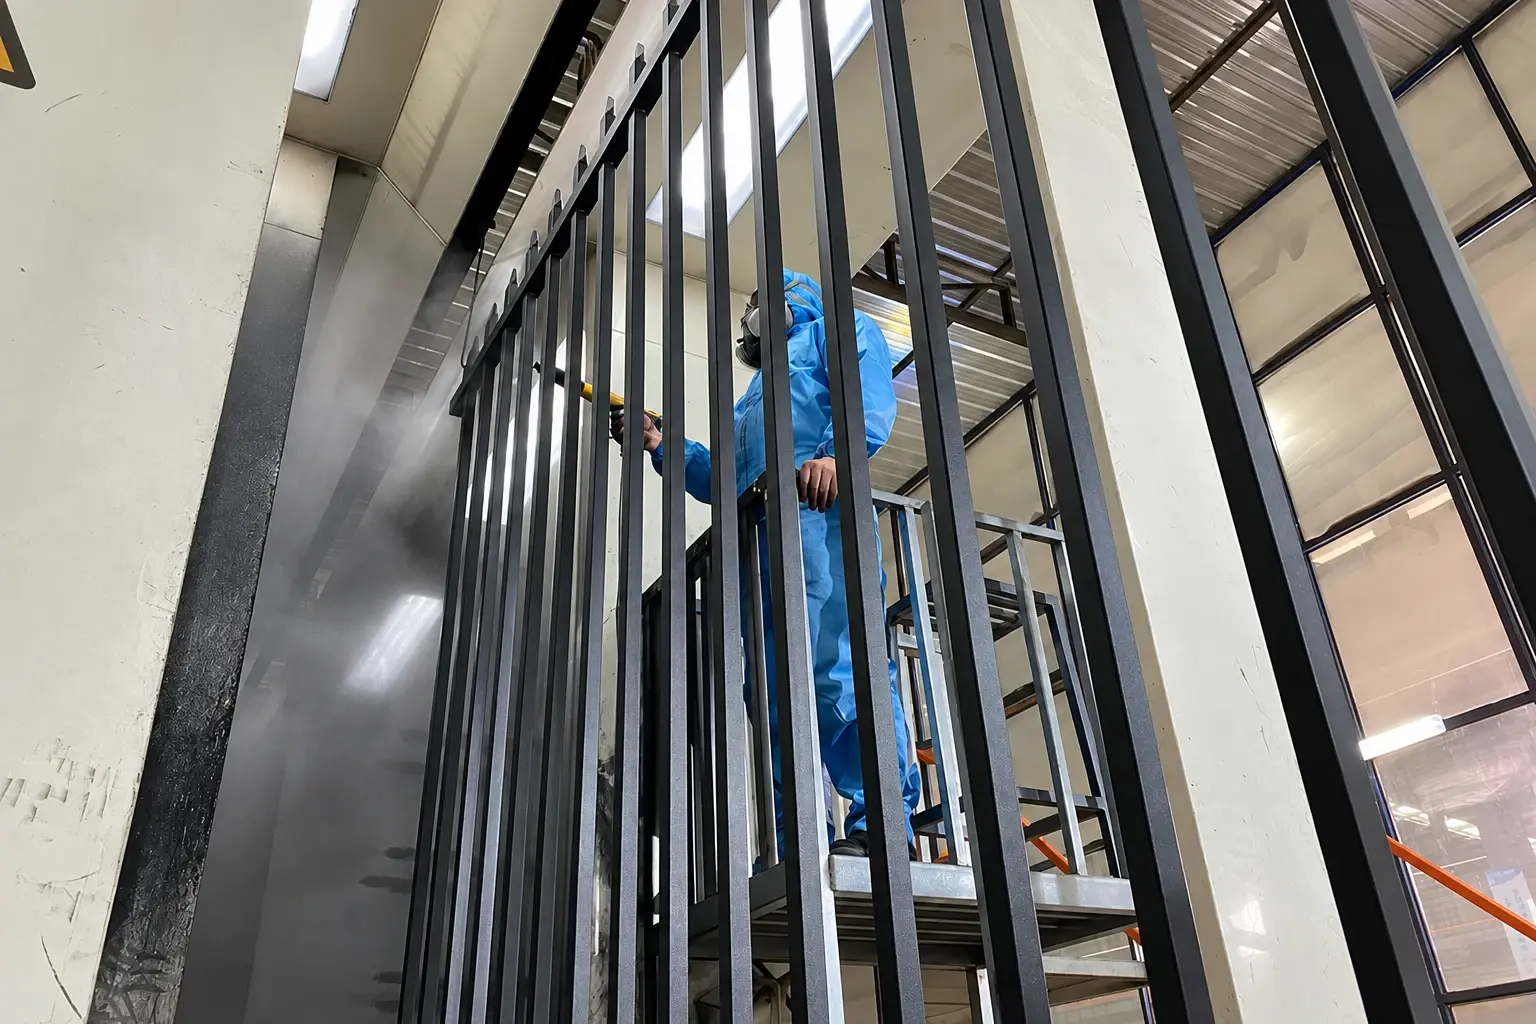
Use a controlled cleaning comparison
Where the coating instructions permit it, clean a small identified area using a compatible method and record the result. Remove contamination without damaging the finish.
Avoid aggressive solvents or abrasion chosen only to make the mark disappear. They can change gloss, damage the film or obscure the original defect.
Compare the cleaned area with the untouched reference. If the mark is removed but a pit, crack or detached coating remains, record both outcomes. “Cleaned successfully” should not mean only that the colour looks better in a photograph.
Select tests that answer a specific question
Thickness measurement can assess whether the relevant layer matches the specification. Adhesion testing can investigate separation using an appropriate method. Examination of a prepared cross-section or laboratory analysis may be needed to identify a failure interface or contaminant.
Distinguish qualitative coating-separation checks from other adhesion tests. Choose the agreed method and representative locations, and retain the sample identity.
A passing test on an unaffected flat coupon does not explain peeling on a fabricated edge. Conversely, a destructive test on an already damaged spot may not represent the original production condition. Use affected and suitable comparison locations as part of a reasoned investigation.
Estimate repair extent without assuming visible area is enough
Suppose 12 posts each have a visible damaged patch measuring 40 × 25 mm. The total visible area is:
12 × 40 × 25 = 12,000 mm², or 0.012 m².
If an approved repair method requires preparation extending 10 mm beyond each side, each rectangular preparation area becomes 60 × 45 mm. The combined area is 32,400 mm², or 0.0324 m².
Those invented dimensions demonstrate why repair work can exceed the visible patch. The actual preparation boundary must reach an appropriate sound condition and follow the selected repair system; it is not set by this example.
Decide between local correction and a wider response
Local mechanical damage may be suitable for an approved local repair. Repeated adhesion failure or widespread underfilm corrosion may justify holding affected material, reprocessing or replacing components after investigation.
Resolve the cause as well as the appearance. Correct water traps, incompatible contact details or damaging handling practices where identified. Otherwise a new topcoat may repeat the same failure.
After repair, document the preparation, materials, conditions and required checks. Reinspect the original locations after an appropriate period or exposure event. Use the cleaning and touch-up workflow for the maintenance process once the cause and repair method have been established.