
By FencingWise Editorial Team · Updated 17 September 2026.
Identify the fitting style first, then measure the surfaces that actually meet.
Internal inserts and external covers use different dimensions
An internal insert enters the hollow section. Its body or ribs must suit the internal opening and the available insertion depth. An external cover fits over the outside faces and needs clearance for the finished outside dimensions.
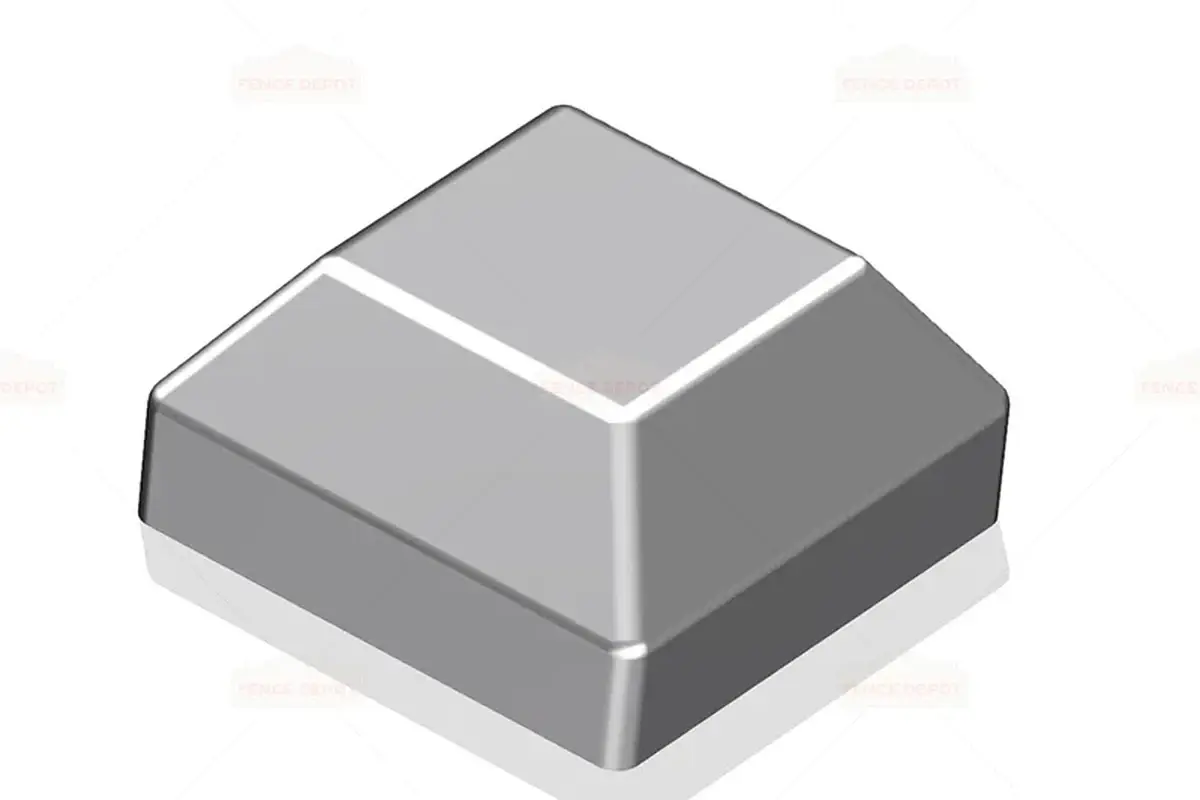
A formed or proprietary post may need its own cap even when its maximum width matches a square section. Curved corners, internal seams, slots and returns affect the fit. Round posts introduce the same distinction between outside diameter, wall thickness and internal opening.
Tube size and compatible wall thickness are separate selection fields. Check both against the proposed cap or insert drawing, and confirm any load requirement for the actual fitting.
Calculate the opening, then measure the real post
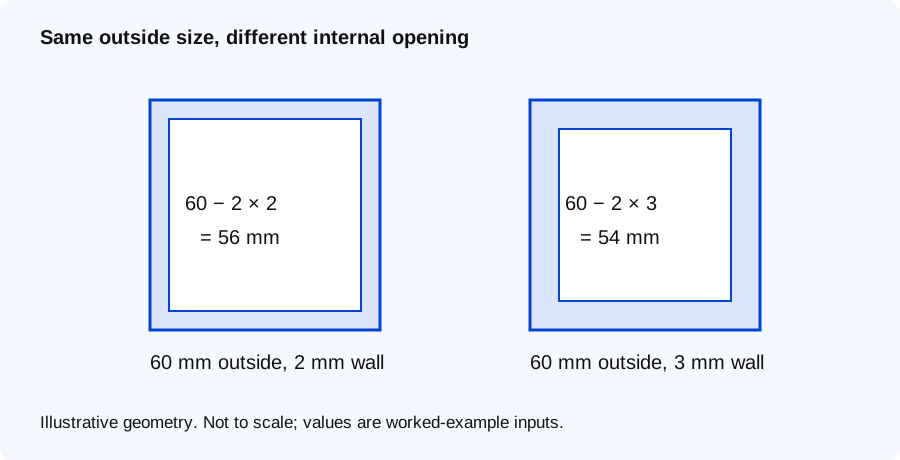
Open the full-size dimension diagram.
For an ideal square tube with uniform walls:
Internal flat-to-flat size ≈ outside size − 2 × wall thickness.
Compare two illustrative posts:
| Outside size | Assumed wall thickness | Calculated internal flat dimension |
|---|---|---|
| 60 × 60 mm | 2.0 mm | 60 − 4 = 56 mm |
| 60 × 60 mm | 3.0 mm | 60 − 6 = 54 mm |
Both posts have the same outside label, yet the simplified internal dimension differs by 2 mm. An insert chosen only from “60 mm” can therefore be wrong.
This calculation ignores corner radii, seams, coating and manufacturing variation. It is a screening calculation, not a cap manufacturing dimension. Measure an actual finished post at several relevant positions and compare the result with the cap supplier's compatible range.
For a round tube, the same simplified subtraction uses diameters. Do not mix a nominal pipe name with a measured outside diameter.
Record insertion depth and obstructions
A cap may enter the mouth of a post but stop before its shoulder seats. Possible obstructions include an internal weld seam, a fixing close to the top, a local reinforcement or a coating build-up.
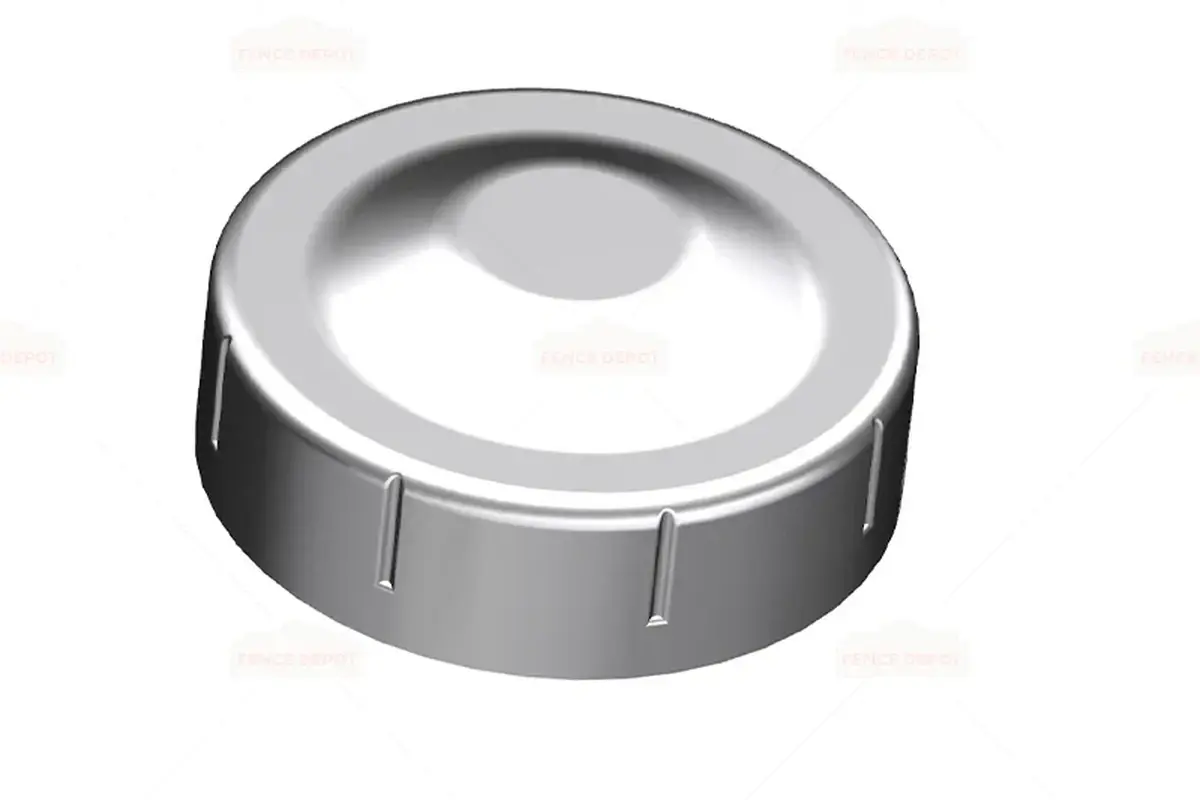
Record the available depth from the finished post end to the first obstruction. Compare it with the insert's full installed depth, including the parts that deform during insertion where applicable. An outside photograph alone cannot establish that clearance.
Also inspect the post end. A deformed or burred opening may need to be corrected under the approved manufacturing or repair procedure. Forcing the cap into that opening can damage both parts and conceal a post defect.
Use a seven-step sample-fit procedure
- Identify the cap part number, material, colour and intended post reference.
- Measure the finished outside dimensions and wall thickness or internal opening.
- Inspect corners, seams and the available insertion depth.
- Fit the sample using the cap manufacturer's method.
- Check that the shoulder seats as intended and the cap is not visibly cracked or distorted.
- Verify the specified retention requirement without inventing a pull-off test or acceptance force.
- Photograph the installed result and record the tested post and cap batches.
A successful fit on one sample establishes compatibility for that tested combination. If the post wall thickness or coating changes, repeat the relevant checks. Do not assume an earlier sample approval covers every post sold under the same nominal outside size.
Diagnose three common problems
The cap enters but remains loose. Check whether it was selected for a thicker-walled tube with a smaller opening, whether its ribs have been damaged, or whether the wrong cap style was packed. Compare the finished dimensions with the intended fitting range before adding adhesive.
The cap will not enter. Check the internal opening, corners and seams. A cap for a thinner wall may have an insert too large for a thicker-walled post. Confirm that the item is an insert rather than an external cover.
The shoulder does not seat. Measure the available depth and inspect for internal interference. Do not shorten an insert or remove ribs without approval; that can change retention.
These checks identify the cause before a batch of apparently similar caps is modified on site.
Count caps by post type and delivered condition
Suppose a hypothetical order has 80 line posts, 10 terminal posts and 4 gate posts. The physical total is 94 posts.
If the 80 line posts arrive with fitted caps and the other 14 require loose caps, the installation need for loose caps is 14, not 94. If the purchaser adds six replacement caps distributed by the actual part types, the loose-cap order becomes 20, with the spare allocation recorded separately.
Different post types may use different caps. Split the 20 into specific part codes; one total does not prove every opening has a matching part. Check the packing list for fitted and separately supplied items.
Specify the function without promising a sealed post
A cap covers the opening and provides the intended finished top detail. Unless a particular assembly has a defined sealing performance, do not treat a push-fit cap as a guaranteed watertight closure. Drainage and corrosion protection belong to the complete post design.
For maintenance, keep the cap reference beside the post specification, including wall thickness and finish. The post-cap product page can then support an enquiry with useful measurements rather than an uncertain nominal size.
The best approval record is a measured, photographed fit on the finished post that will actually be supplied.