
By FencingWise Editorial Team · Updated 17 September 2026.
Draw the boundary during construction
Use separate lines for the existing fence, temporary enclosure and completed replacement. Show how the temporary line returns to a secure point at each end. Include gates, loading areas, emergency routes and the space needed for excavations and handling equipment.
A temporary barrier should be selected for its actual task and duration. A light pedestrian barrier and a temporary security fence serve different purposes. Stability, ground conditions, access control and the site's security requirement must be resolved for the chosen arrangement.
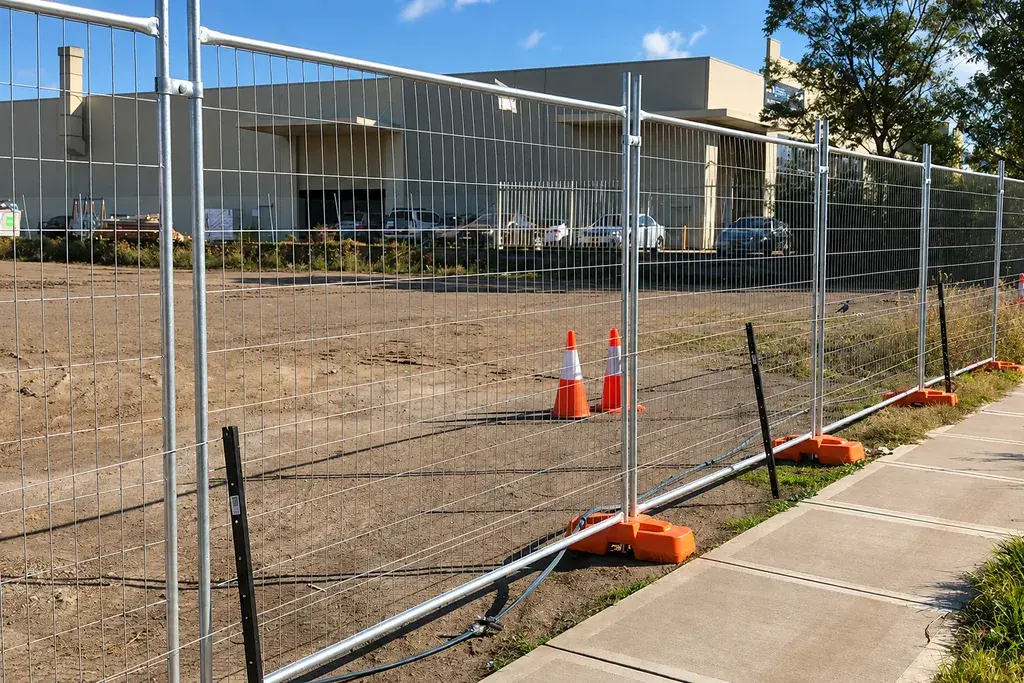
Do not assume the temporary line can sit directly on the permanent fence alignment. The contractor may need working space for post removal, foundations, lifting and finishing. That offset changes the length and the return details.
Divide the project by controllable work sections
Consider a fictional 180 m straight replacement, planned in 30 m sections. The quantity is 180 ÷ 30 = 6 sections.
Suppose each section needs a temporary boundary running parallel to the old fence, with 5 m returns at both ends. Its simple temporary perimeter length is:
30 + 5 + 5 = 40 m.
A scheme that prices only 30 m of temporary fencing misses 10 m of returns. If a temporary access gate replaces 4 m of that boundary, the schedule becomes 36 m of fixed temporary barrier plus one 4 m opening, not 40 m plus another 4 m.
These dimensions illustrate planning arithmetic. The actual working width and temporary system require a site-specific arrangement.
Make the sequence depend on release conditions
For each section, use the following order:
- Establish the temporary enclosure and controlled access.
- Inspect its continuity, stability and end connections.
- Authorise removal of the old fence within that protected section.
- Complete excavation and the approved support works.
- Wait until the support system is permitted to receive the intended loads.
- Install and inspect the new posts, panels and local interfaces.
- Restore the permanent boundary to the agreed operating condition.
- Authorise relocation of the temporary enclosure.
The waiting period in step five cannot be replaced by a universal “next day” rule. Concrete strength development, resin curing or other support conditions depend on the selected design and installation instructions. This dependency often governs the programme more than panel installation speed.
Calculate a programme with explicit assumptions
Assume, solely for estimating, that each section requires 2 working days of active work and 3 elapsed days of support-related waiting, with no overlap between sections. Six sequential sections would occupy 6 × 5 = 30 elapsed days under that simplified calendar.
That is not a production promise. It illustrates why a quotation based only on 6 × 2 = 12 active workdays can understate the time the temporary boundary is required.
If two temporary work enclosures allow overlapping activities, build a dated programme showing crew availability, permitted waiting periods and access conflicts. Do not simply halve the 30-day result: the same team, delivery gate or lifting equipment may still limit progress.
Keep vehicle and pedestrian access usable
| Site operation | Information needed before work | Temporary arrangement to resolve |
|---|---|---|
| Deliveries | Vehicle type, arrival window and turning route | Controlled gate and marshal position |
| Staff access | Shift times and normal walking route | Separated pedestrian passage |
| Emergency access | Required route and responsible site contact | Continuously available approved route |
| Waste removal | Skip position and collection method | Access without opening the protected area |
| Night operations | Lighting, staffing and alarm coverage | Handover and inspection arrangements |
Where a gate is being replaced, arrange its temporary function before removing the existing leaf or posts. A fence section can be complete while the vehicle opening remains uncontrolled.
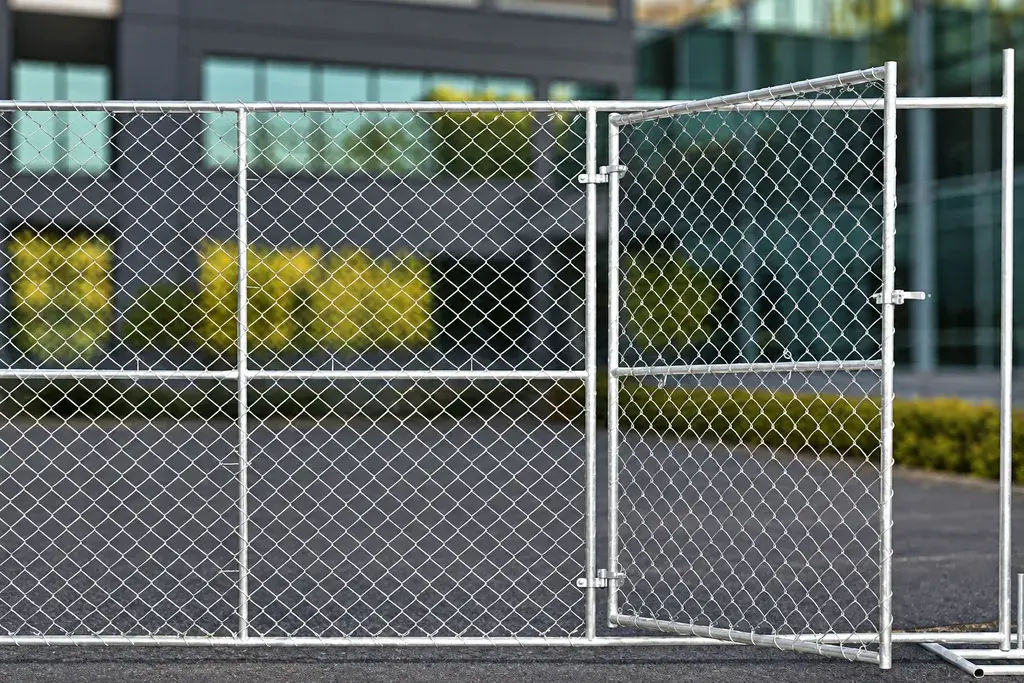
Keep contractors and site operators working from the same access drawing. If a delivery route changes during the day, update the arrangement before the next shift uses it.
Use a physical shift-handover inspection
At the end of work, walk the full temporary line and the completed permanent sections. Check gates, panel connections, excavations, lighting and any route left for workers. Record the exact section handed back and any restrictions still in force.
An effective handover entry is specific: “Section 3 remains inside temporary enclosure T2; permanent panel installation incomplete; temporary gate locked and checked.” “Fence works ongoing” does not tell the night team which boundary they must protect.
Photographs should include return connections and access points. Record who receives responsibility for the section and how urgent defects are reported.
Remove temporary protection after the permanent boundary passes
The final release should verify the new fence's continuity, gate operation, bottom openings and relevant security interfaces. Use the connection inspection method and the ground-gap survey for measurable checks.
Remove temporary protection in a sequence that does not damage the new fence or expose unfinished landscaping. Close the work record only after access routes, retained materials and temporary fixings have been dealt with. The project then ends with one usable boundary and a clear maintenance baseline.