
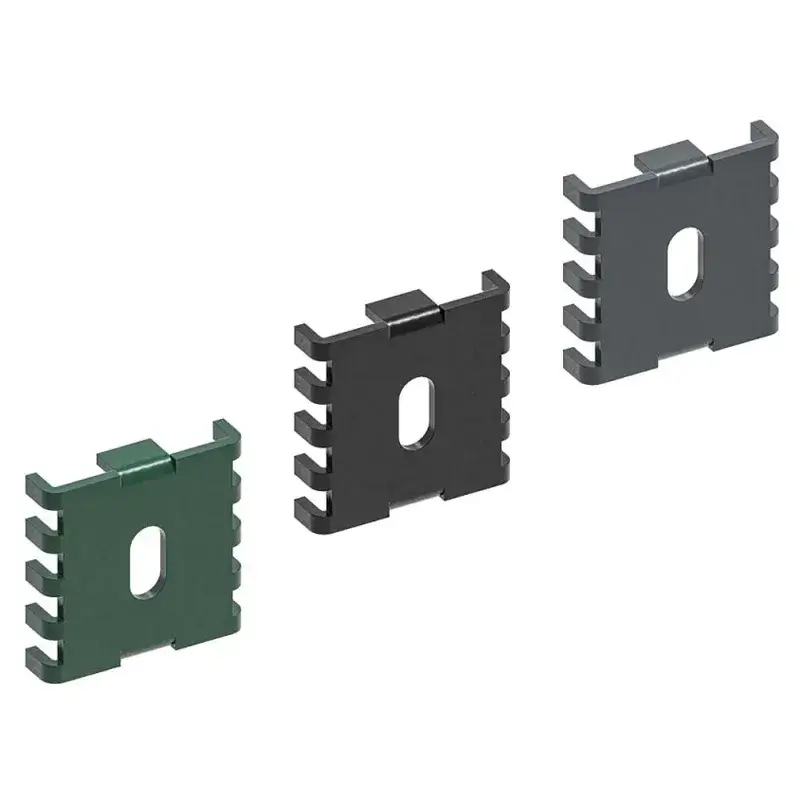
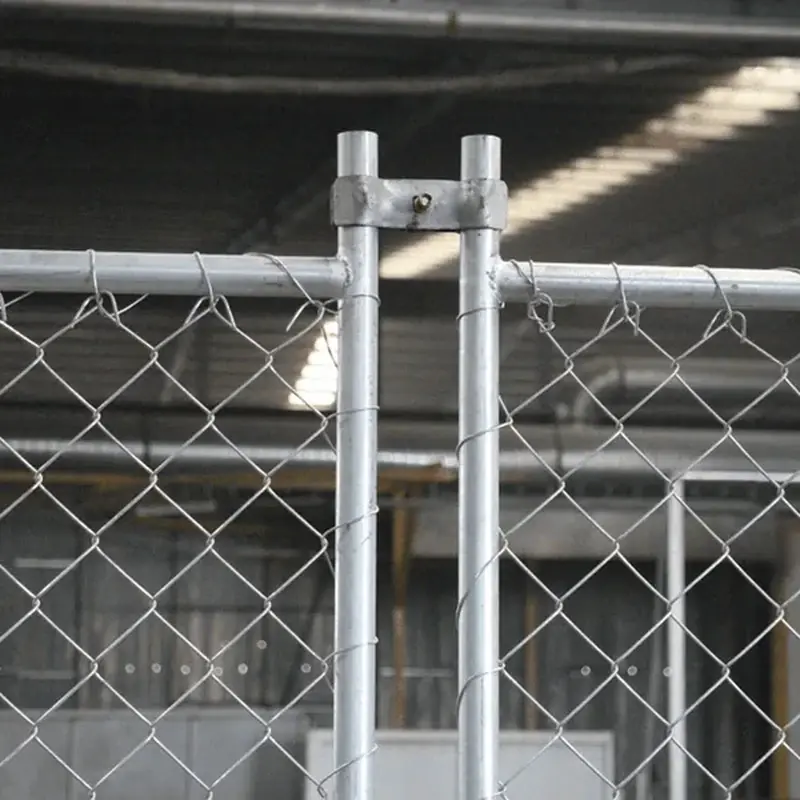
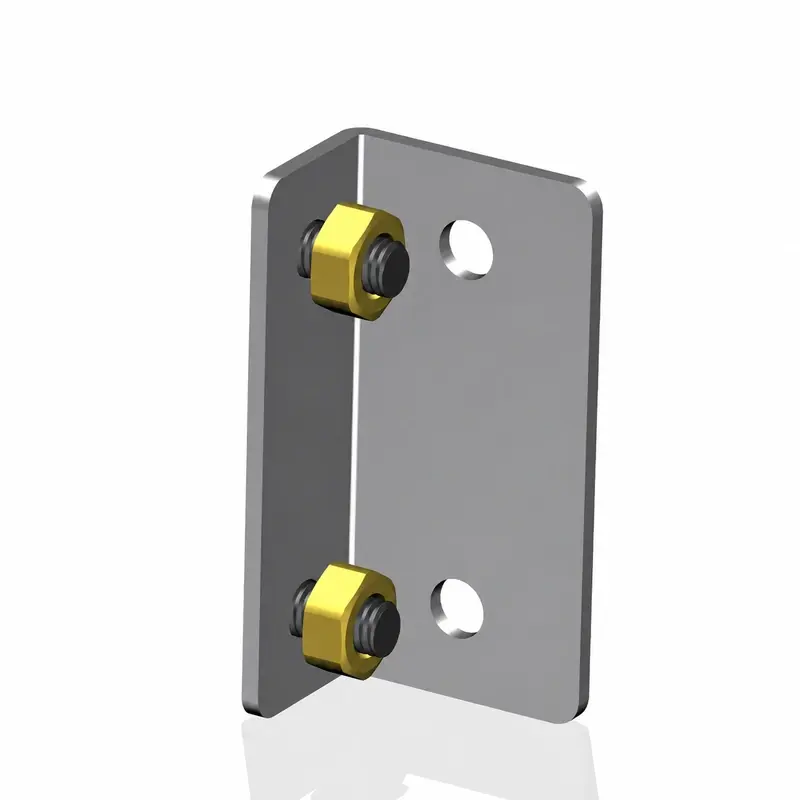
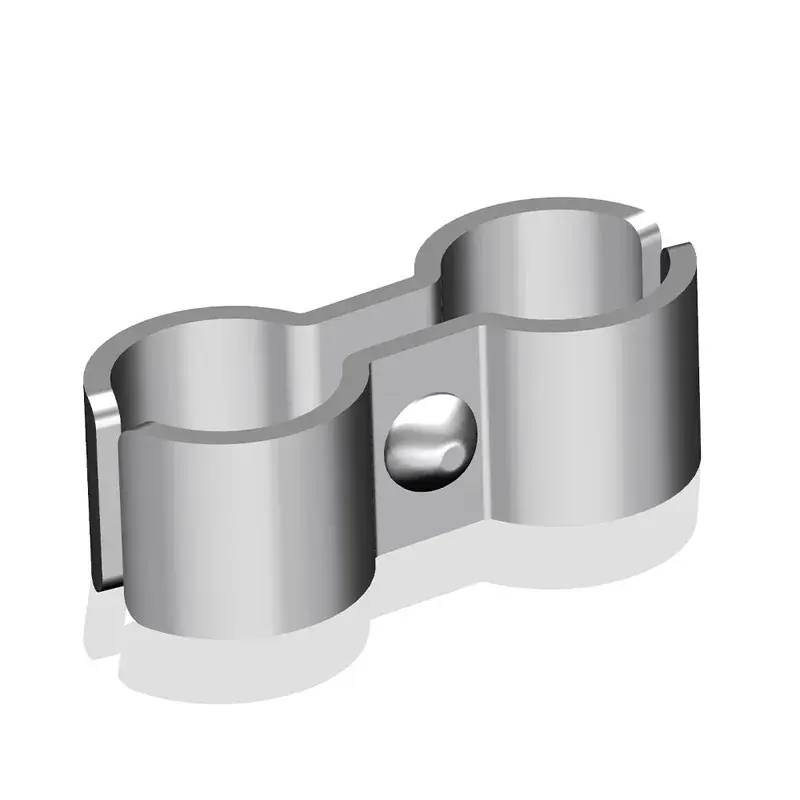
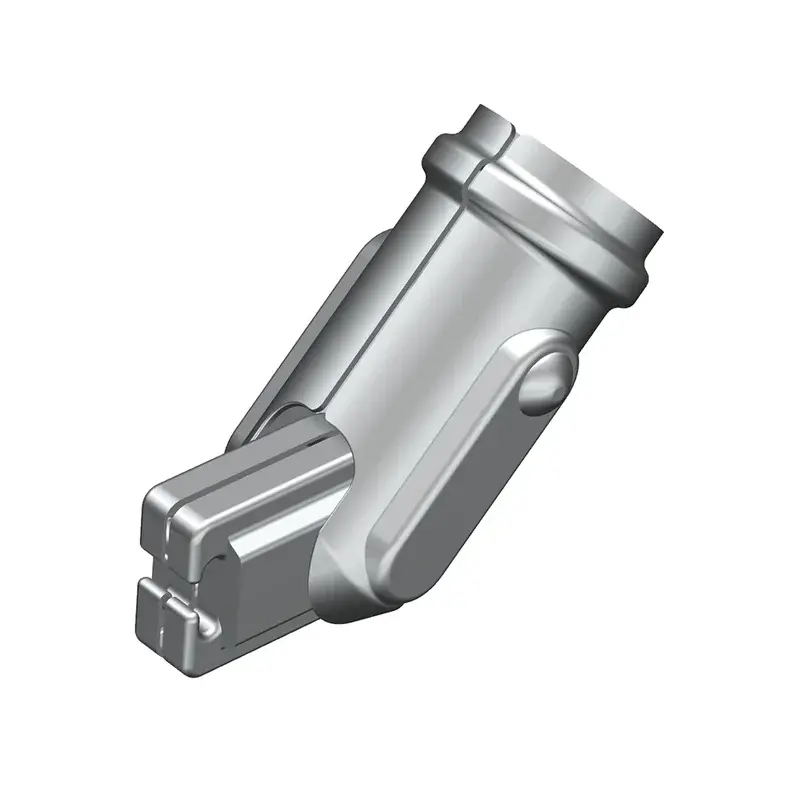
Clips and bars organise the joint differently
Individual clips retain mesh at defined positions. A clamp bar runs along the connection and uses a corresponding fastener pattern. Select the arrangement shown in the fence specification, then price its complete component list.
For a two-panel joint, establish whether the mesh overlaps. Include both layers when checking the available clamping space. End posts and corners can require different parts from a straight intermediate connection.
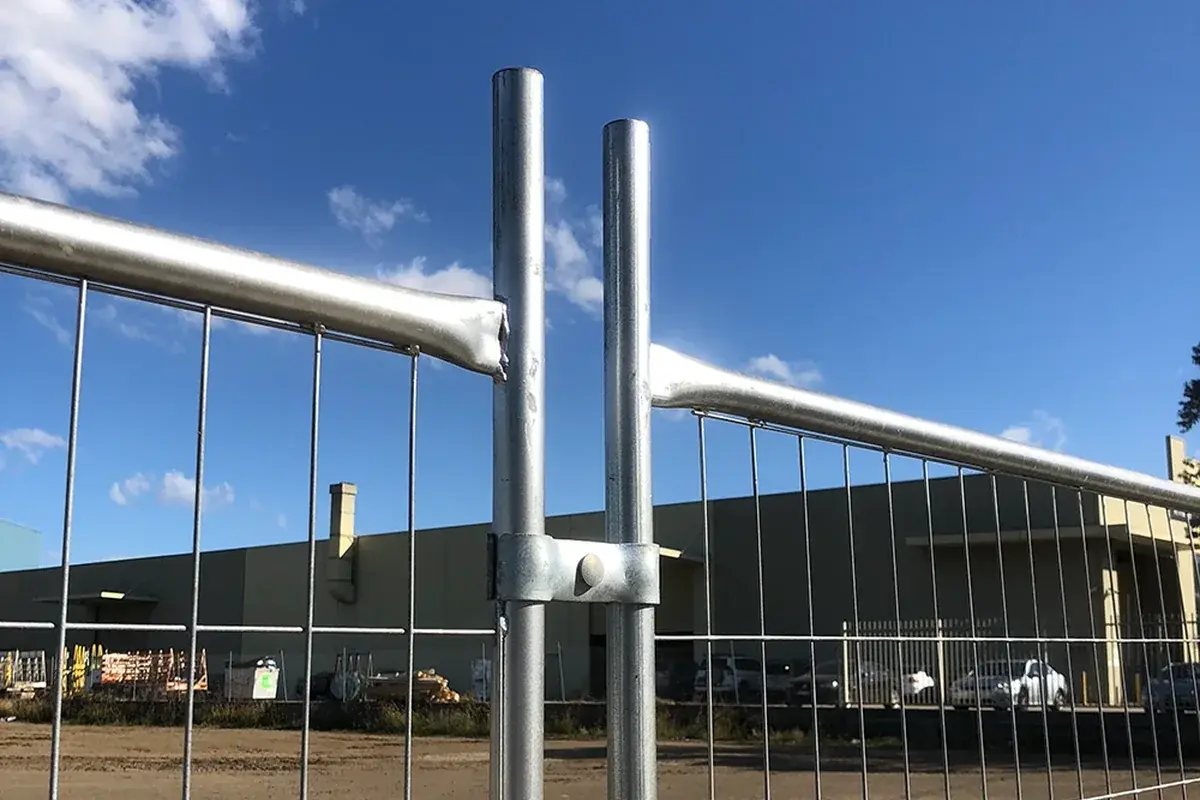
The dimensions a replacement supplier needs
| Part | Useful measurements |
|---|---|
| Formed clip | Overall width, throat depth, thickness and hole offset |
| Flat or profiled bar | Length, section and hole-centre pattern |
| Bolt | Thread size, length, head form and required material/finish |
| Post interface | Post face width, existing holes and access behind the connection |
Show the assembled joint as well as the loose part. A front photograph can hide the thickness of an overlap or a spacer behind the clip. Where a sample is used, label the mesh and post it came from.
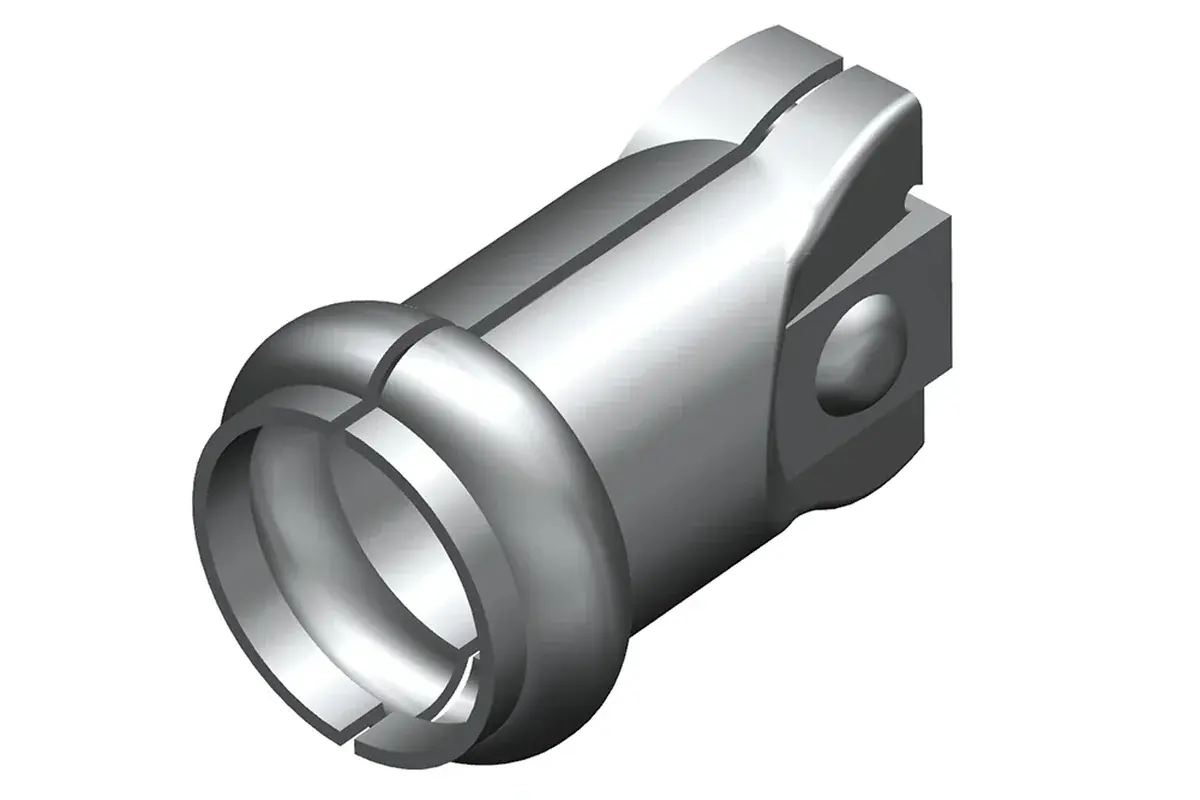
Define a set before multiplying quantities
A quotation may count a set per fixing point, per post or per panel. State which convention applies. List bolts, washers, nuts, spacers and any backing piece explicitly so both parties count the same assembly.
Work from the approved fixing arrangement when calculating totals. Corners, ends, gates and stepped panels should be counted separately; multiplying a straight-bay quantity across the whole perimeter can miss these differences.
Consider access after installation
The installer needs space to tighten the fastener without damaging the coating or trapping the tool against an adjacent panel. For anti-tamper fasteners, also establish how authorised maintenance will remove the connection later.
Keep an identified spare parts record with the post schedule. It should describe the connection revision, not simply the fence colour or nominal mesh family.