
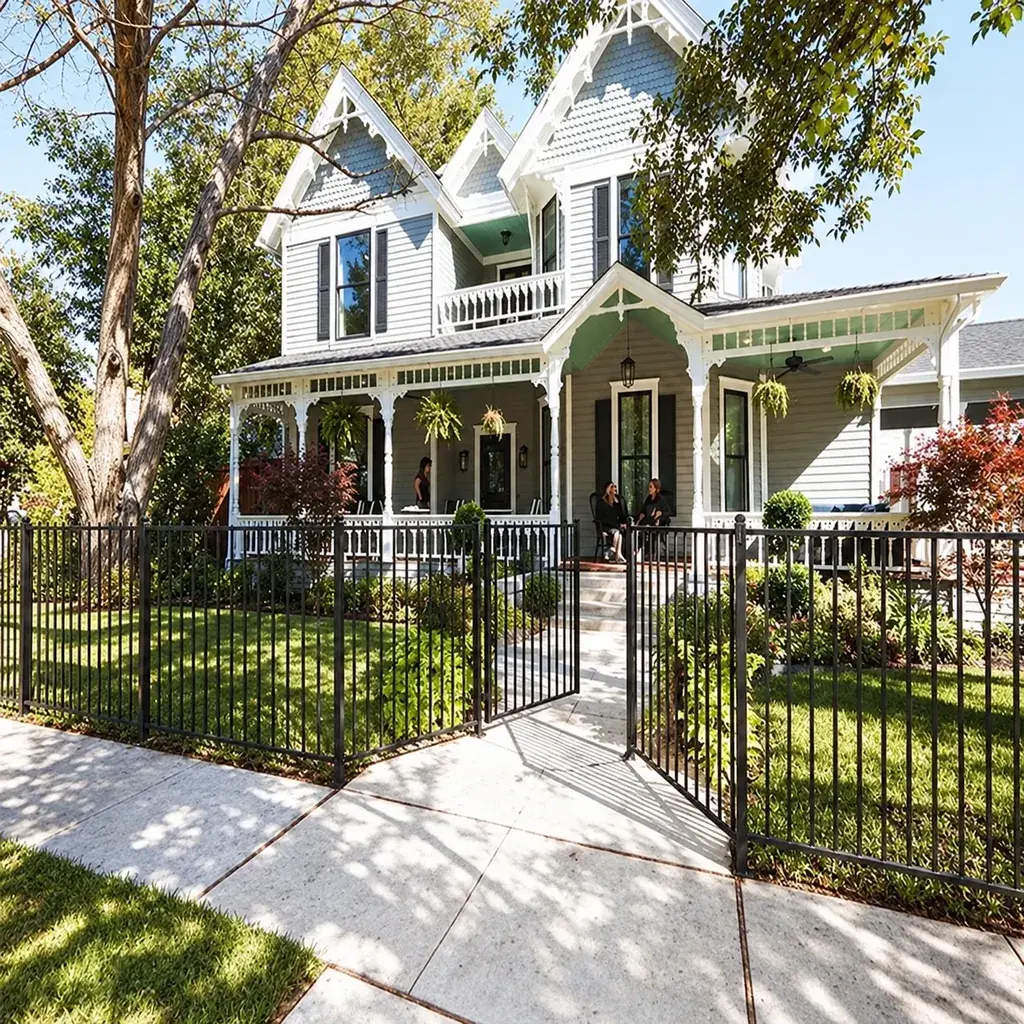
Agree the elevation before the individual parts
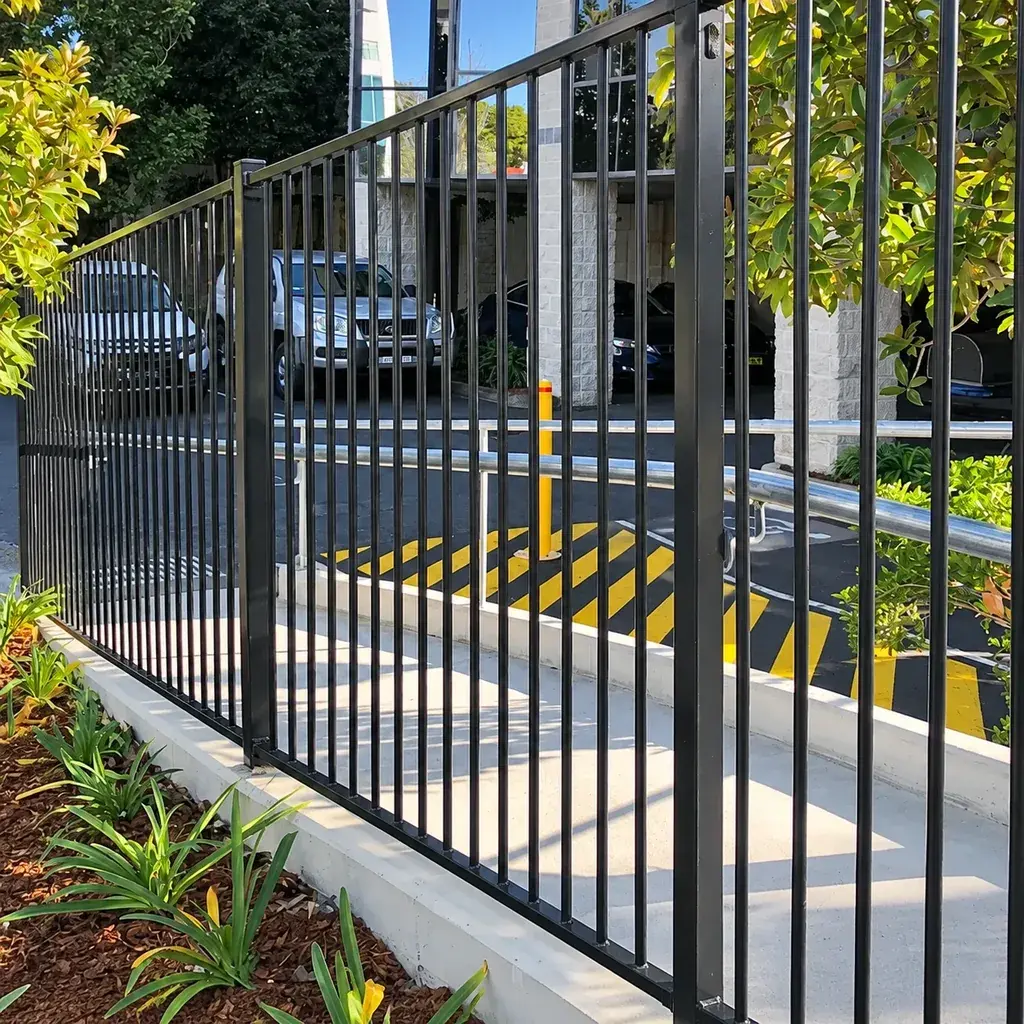
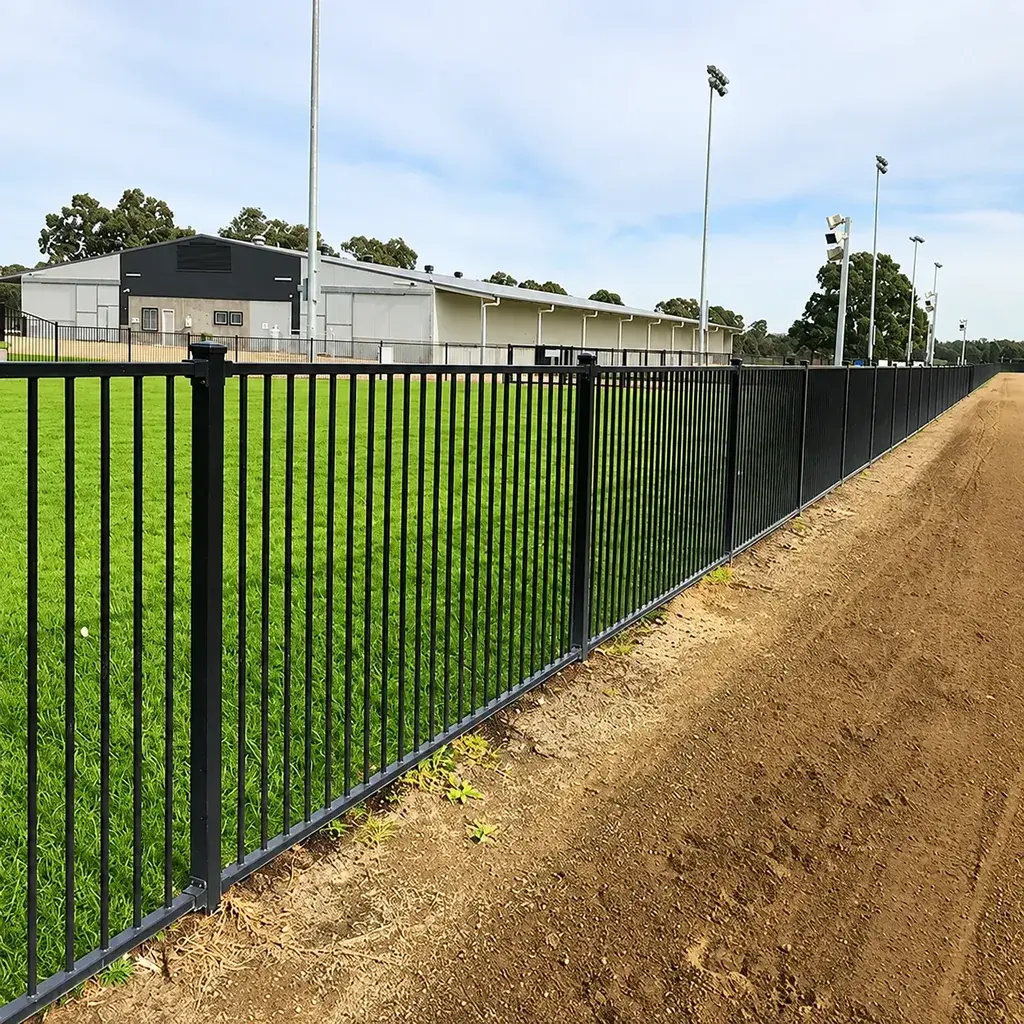
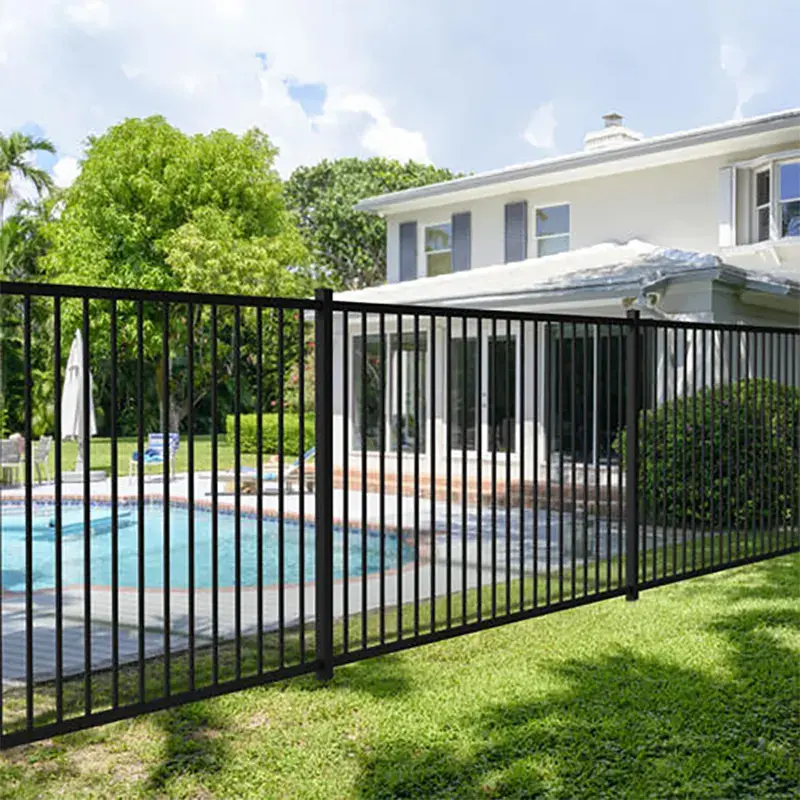
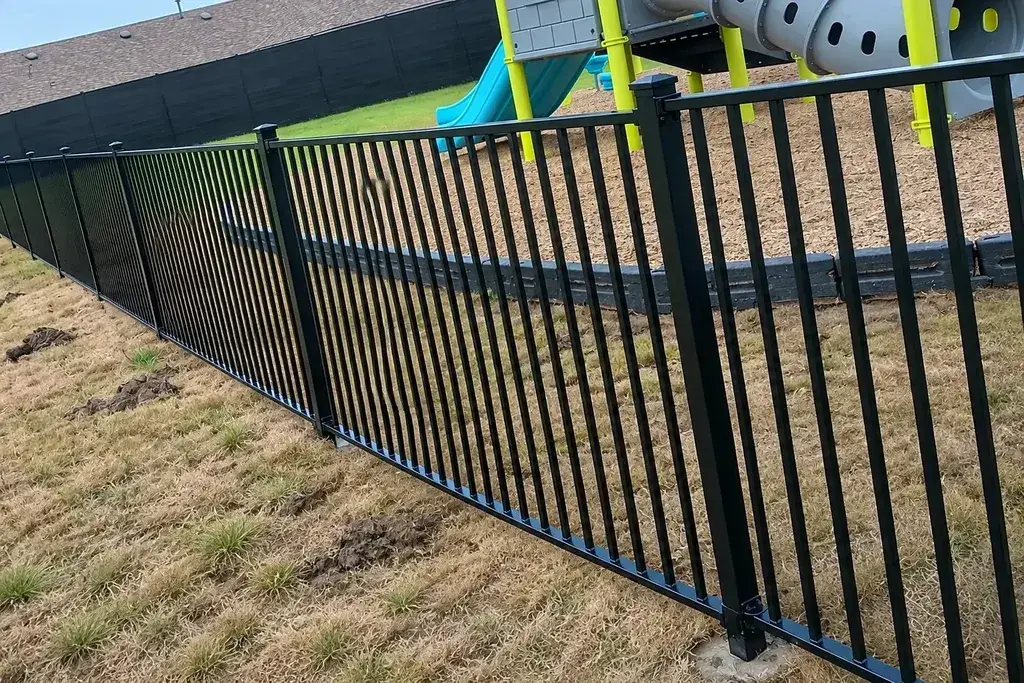
Draw the railing line with its posts and openings. Identify whether the top remains level or steps with the ground. Keep the lower clearance visible; a consistent top line does not necessarily produce a consistent gap below the panel.
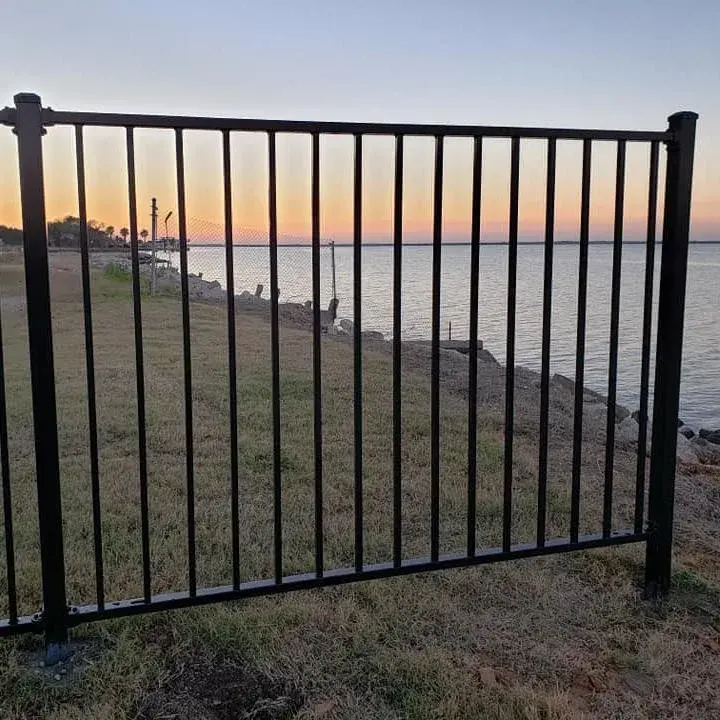
Show how the pickets terminate at the rails and whether the lower ends project. Those details affect both the appearance and the finished edge. For tubular components, specify wall thickness as well as the outside section.
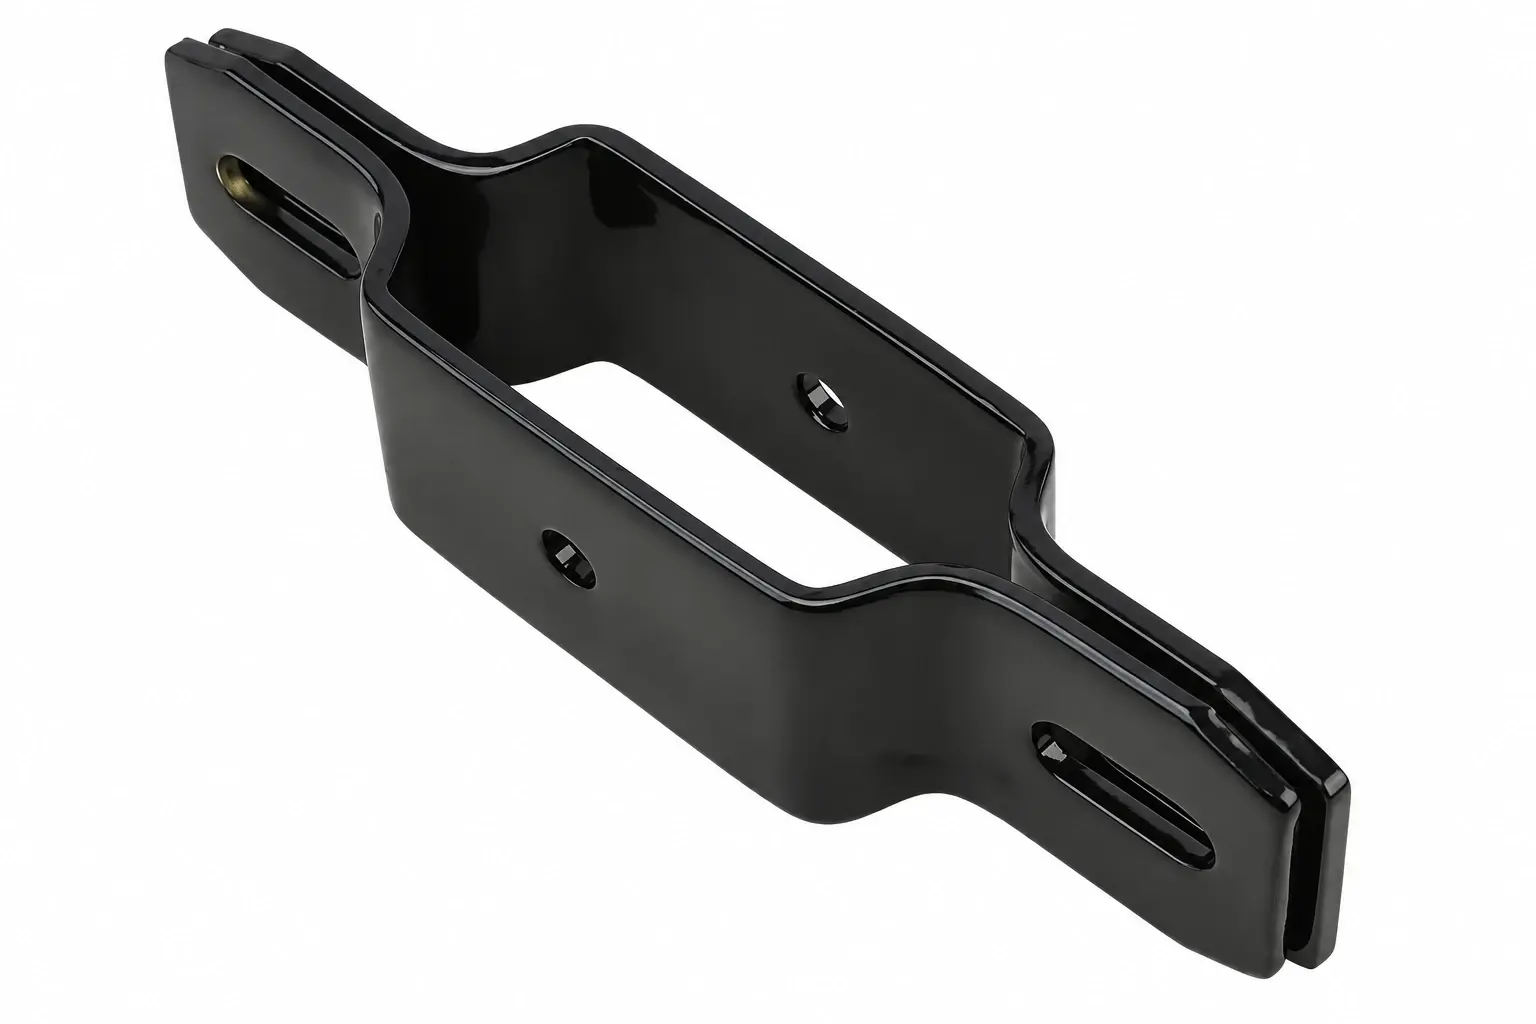
Set out from the assembled bracket detail
The rail-end bracket, its clearance and the post section determine how the panel fits between posts. Dimension the assembled bay before post positions are fixed on site.
At corners, show the included angle and both connections. At a wall termination, identify the bracket and support arrangement separately from the free-standing post detail. A single regular-bay drawing will not describe these positions.
Fixed panels and sloping runs
A fixed welded panel does not become rackable simply because its brackets allow some adjustment. If the layout needs the rails to follow a slope, specify an assembly designed for that movement or a fabricated panel with the required geometry.
For extensions to an existing run, retain the upper and lower rail levels, panel width and bracket reference. These dimensions often matter more to the visual match than the general description “flat top”.
Coordinate matching gates before fabrication
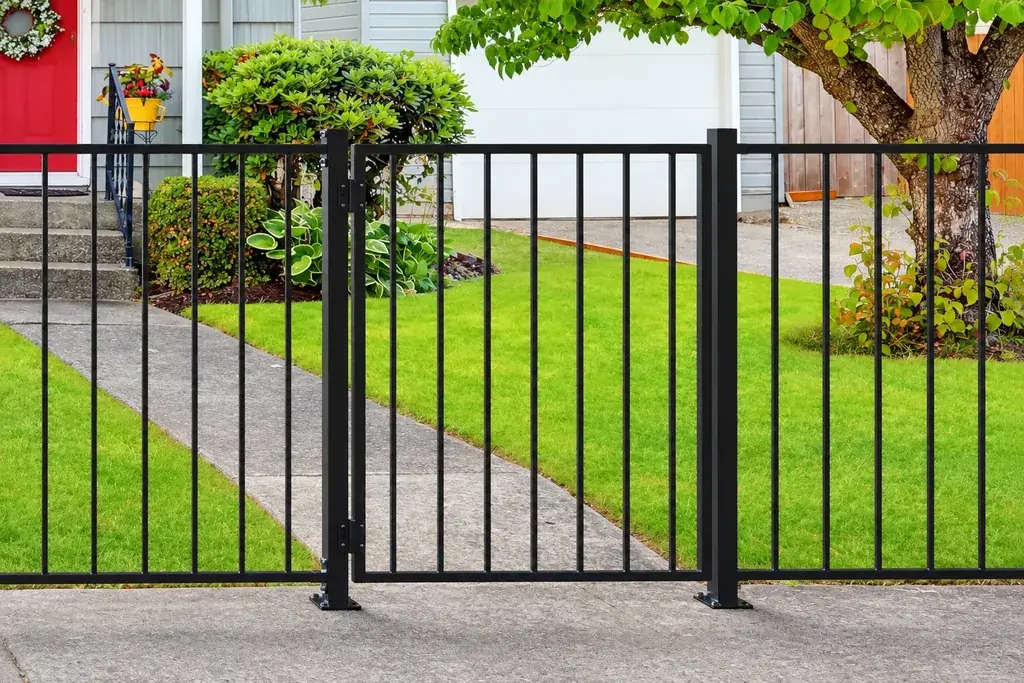
The gate frame may alter the apparent rail line at an opening. Review the gate elevation beside the fence panel and identify the clear opening, hinge side and lock arrangement. Gate posts and their foundations need to suit the moving assembly.
The order schedule should distinguish regular panels, special lengths, post types and gates. Record the finish and colour alongside those item references for packing and future reorders.
For a rounded upper outline, compare bow top railings. Where a formed spear detail is required, see garrison fencing. The choice should follow the location and project brief as well as the intended appearance.