
Confirm the profile before cutting
Identify the extrusion reference, alloy and temper where specified, outside dimensions, wall distribution and any internal features used by fixings. Check that the material record corresponds to the delivered batch. A profile with the same visible face can contain different fixing channels or ribs.
Record whether lengths are cut before or after the finish process. That decision affects edge treatment, handling protection and the definition of finished dimensions. Do not assume a powder-coated exterior means cut ends receive the same treatment.
The manufacturing route described here is a generic inspection method, not a statement that every FencingWise aluminium component is made in-house. Actual production and sourcing follow the agreed order scope.
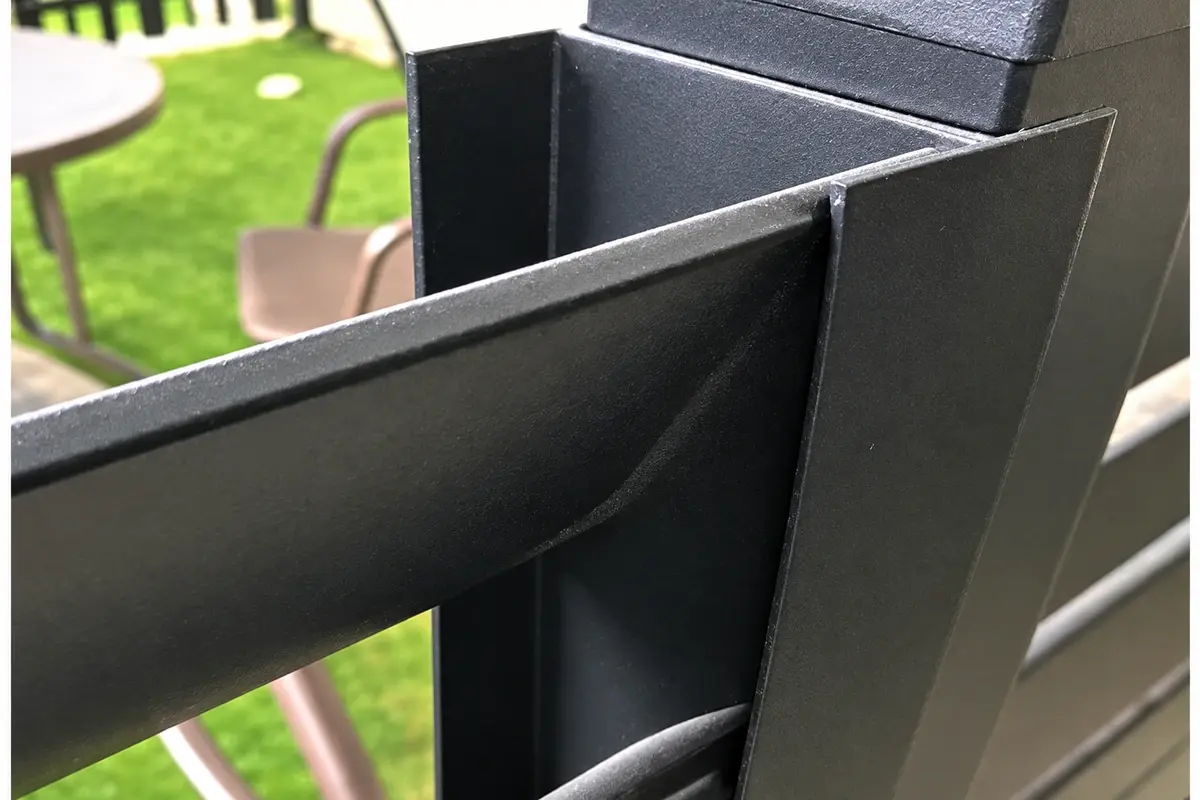
Calculate the cut list with real losses
Suppose an illustrative stock length is 6,000 mm. The job requires three pieces at 1,980 mm, with an assumed 3 mm kerf for each of three cuts and 20 mm total end trimming. Required stock is 3 × 1,980 + 3 × 3 + 20 = 5,969 mm, leaving 31 mm.
Three pieces at 1,995 mm would require 5,985 + 9 + 20 = 6,014 mm and would not fit the same stock length. The 15 mm increase in each finished piece therefore changes the cutting yield rather than merely consuming a little more offcut.
The example assumes the stated cutting sequence. Actual saw setup, end condition and allowances must be agreed with the fabricator. Do not use nominal stock length without confirming its usable length.
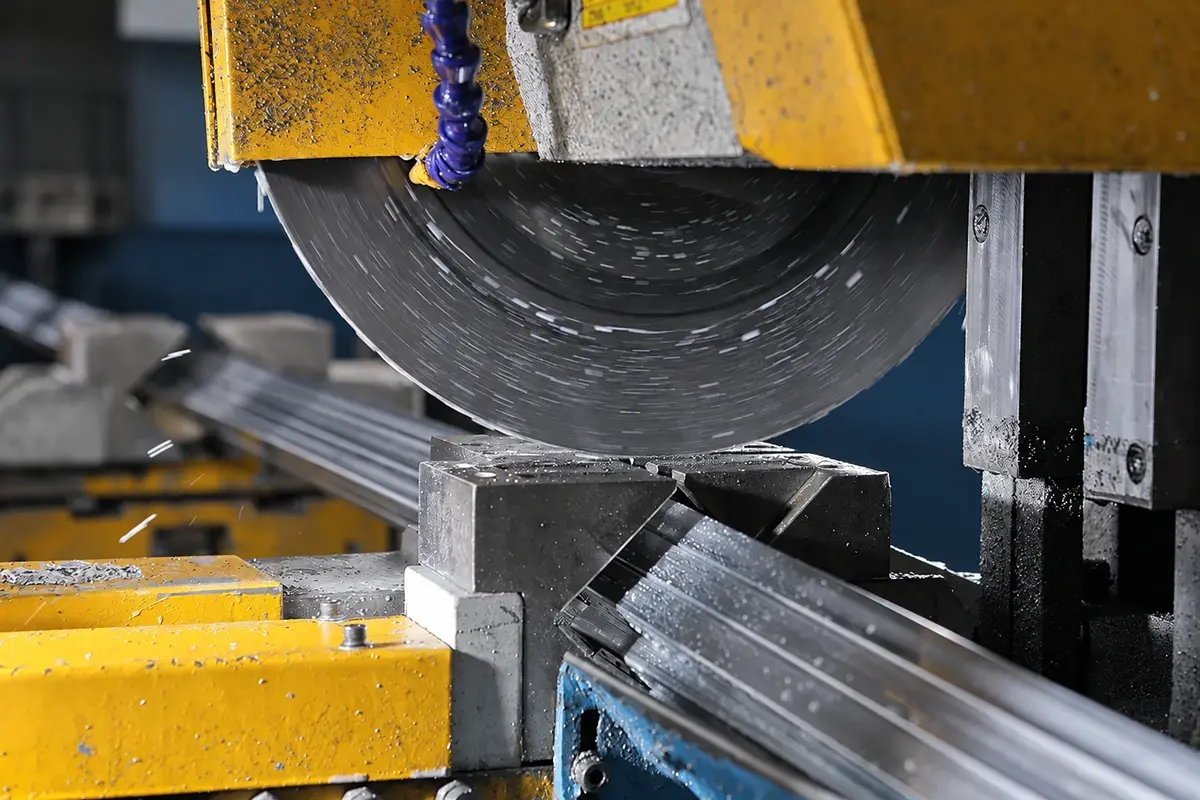
Inspect the features used in assembly
| Stage | Record |
|---|---|
| Incoming profile | Identity, dimensions and visible damage |
| Cutting | Finished length, end squareness and burr condition |
| Machining | Hole or slot position from a defined datum |
| Finishing | Appearance and specified process evidence |
| Assembly | Engagement, pattern, movement detail and overall geometry |
Use the drawing's tolerances. If a dimension is critical to fit but has no acceptance limit, resolve it before production rather than choosing a convenient inspection limit afterwards.
Assemble a representative finished bay
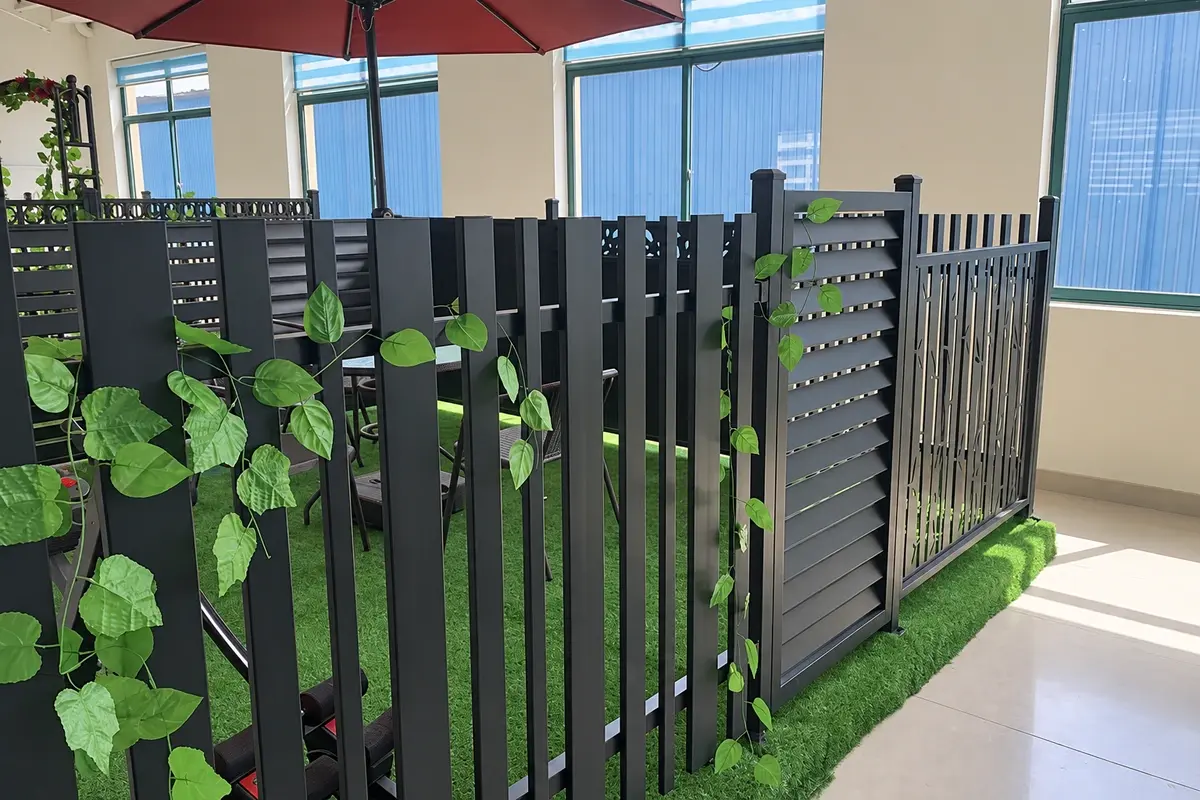
Use the actual finished slats, posts or channels, spacers and fixings. Confirm that the pattern fills the intended opening and that the connection preserves the specified movement provision. A raw-profile trial cannot fully establish the fit after finishing.
For an illustrative panel with 16 slats and two end connections per slat, there are 32 end connections. Across 30 panels, that becomes 960. If each connection contains a proprietary insert, the insert count should remain visible instead of being hidden in a generic fixing-set total.
Measure the first article's overall dimensions and record the assembled pattern. Compare a later production sample using the same datums and support conditions, so the results are comparable.
Separate finish rejection from a fit problem
If a finished slat will not enter its intended channel, measure the mating dimensions and compare them with the approved finished-condition drawing. Do not immediately remove coating or grind a component to make it fit. That can alter both the protection and the connection without resolving the underlying production issue.
Check whether the first article used the same finishing route and components as the batch. A trial using uncoated profiles may have approved raw fit while leaving finished fit unverified. Record that difference and return the affected requirement for review.
Where the issue is appearance alone, use the accepted finish sample and viewing conditions. Keep dimensional acceptance and surface acceptance as separate records so a colour correction does not inadvertently change the machining or assembly detail. Reinspect affected features after rework, including any connection surface that the corrective process could have altered.
Pack to preserve the finished fit
Protect visible faces and prevent unsupported components from bending or rubbing during transport. Keep spacers, inserts and special end parts identified by panel or component reference. The package should allow receiving staff to count parts without losing their relationship to the drawing.
If a batch is split across several deliveries, retain the approved profile and drawing revision so the later shipment remains compatible. A colour match alone does not establish replacement fit.
Use the slat-spacing calculation before issuing the cut list and mixed-load planning before shipping the assembly with other products. The manufacturing record should connect the incoming profile to the finished bay that the installer receives.