
Use the clear framed opening
For horizontal slats, start with the clear vertical space available inside the frame. Do not use the overall post height. Record slat face width, number of slats, gaps between slats and any separate top and bottom margins.
For an arrangement with no top or bottom margin, the pattern height is:
Height = number of slats × face width + (number of slats − 1) × gap.
If end margins exist, add both margins. Stating the formula makes it much easier to see why two suppliers can offer different slat counts for the same panel height.
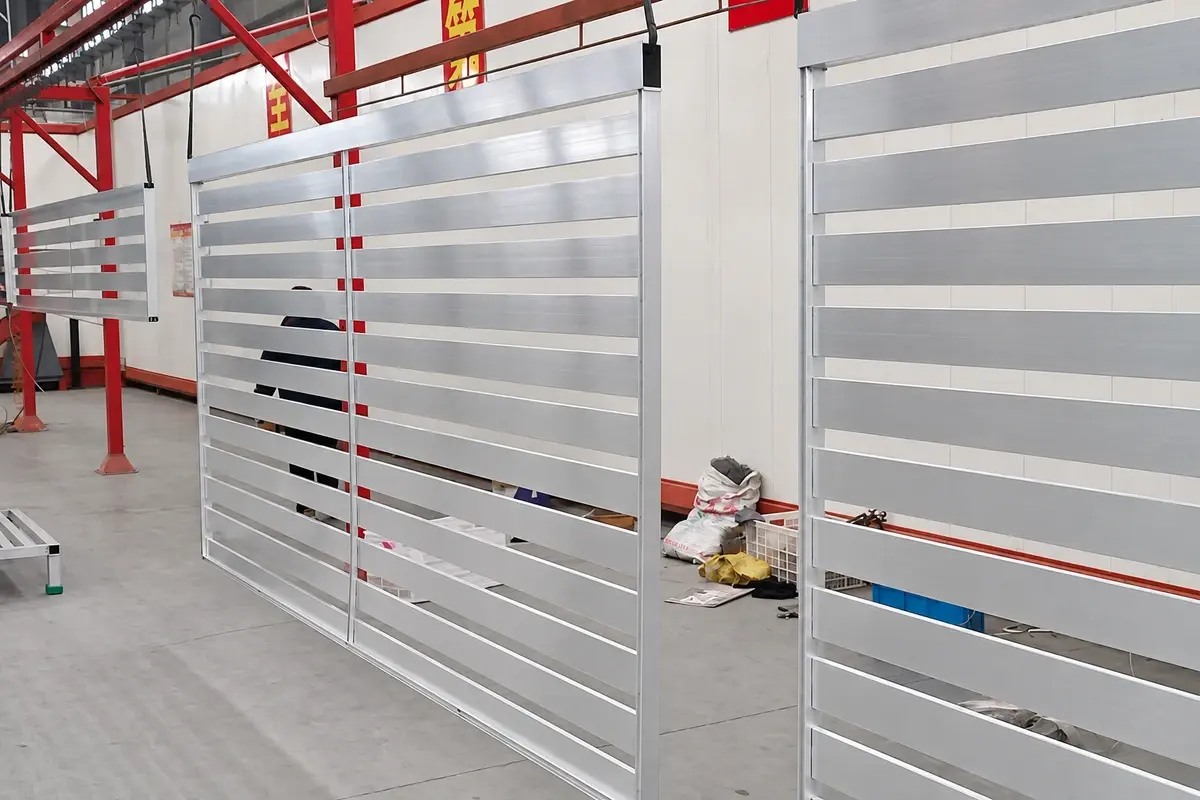
Solve an illustrative 1,800 mm opening
Assume 100 mm slat faces and 16 slats, with equal gaps only between the slats. The slats occupy 1,600 mm, leaving 200 mm for 15 gaps. Each gap is 200 / 15 = 13.33 mm.
If the design instead uses 15 slats and equal top, bottom and internal gaps, there are 16 gaps. The slats occupy 1,500 mm, so each gap becomes 300 / 16 = 18.75 mm. Both layouts fill 1,800 mm, but they produce different appearances and connection quantities.
| Layout assumption | Slats | Equal gaps | Calculated gap |
|---|---|---|---|
| No end margins | 16 | 15 | 13.33 mm |
| Equal end and internal gaps | 15 | 16 | 18.75 mm |
These dimensions demonstrate layout arithmetic. They are not approved product tolerances, pool-barrier dimensions or standard FencingWise configurations.
Calculate open area without overstating it
For a repeating pattern of 100 mm slats and 20 mm gaps, nominal open fraction is 20 / (100 + 20) = 16.67%, excluding posts, frames and end effects. The corresponding solid fraction is 83.33%.
That calculation is a face-on geometric description. It is not a wind reduction factor. The shape, depth and angle of the slats, support arrangement and site conditions need to be considered in the actual load assessment.
Privacy also depends on viewing direction. A narrow gap may screen a seated observer but expose the same space to someone standing higher. Tilted or overlapping profiles have a different sightline from flat rectangular slats, even when the visible face widths are similar.
Test the view at the intended positions
- Mark the area requiring screening and the likely observer positions.
- Set a representative sample at the intended height and orientation.
- Inspect from both sides, including elevated approaches and oblique views.
- Check how openings change near the ground, posts and gate.
- Record the accepted pattern and the situations it does not screen.
A photograph taken straight at the panel is insufficient for a brief involving a raised pavement or overlooking window. Record the sample position so the test can be repeated after a design change.
Keep spacers and end margins in the approved pattern
If installers use a spacer to repeat the gap, identify the finished spacer dimension and where it applies. A spacer intended for internal gaps may not define the top and bottom margins. Mark those end conditions separately so the pattern does not drift when assembled from one end of the frame.
Check the last slat position during the first-article assembly. A repeated small dimensional difference can accumulate across the pattern, leaving the final margin visibly different. Record the actual slat faces, gaps and frame opening before deciding whether the problem lies in cutting, spacing or the frame itself.
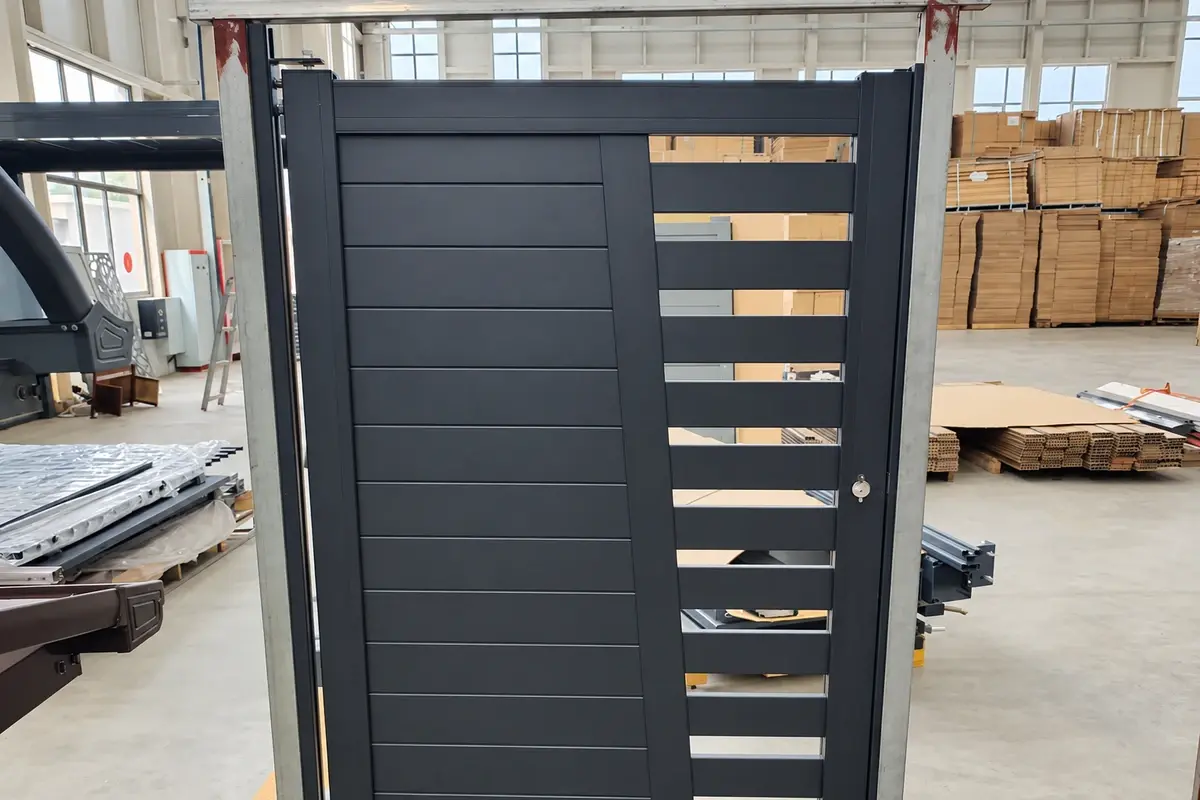
Do not hide the mismatch by forcing the final slat or altering its connection. Resolve the dimensions against the approved drawing and repeat the trial where necessary. For a large order, retaining that first assembled pattern provides a practical reference for both the factory and the receiving inspector, alongside the individual component measurements.
Carry the pattern into fabrication
Show slat lengths, fixing channels, spacers, finished engagement and the manufacturer's movement detail. Do not clamp every slat rigidly merely to preserve a nominal gap: the connection must follow the approved assembly design.
For an illustrative order of 24 panels with 16 slats each, 384 slats are installed. If each slat has one defined connection at each end, that represents 768 end connections. Confirm what each connection contains before ordering individual screws or inserts.
Use aluminium slat manufacturing checks for first-article and production inspection. For a broader boundary decision, privacy versus open fencing explains why screening, observation and maintenance access should be considered together.