
Identify the conditions for galvanic corrosion
Different metals must be electrically connected and linked by a conductive liquid for a galvanic corrosion cell to operate. The less noble material can corrode preferentially. The British Stainless Steel Association's explanation also discusses the influence of relative areas and the environment.
At a fence joint, the liquid may come from rain, condensation, washdown or salt deposits that remain damp. Look for sheltered recesses and horizontal surfaces that hold water. A dry comparison of metal names cannot describe the actual wet joint.
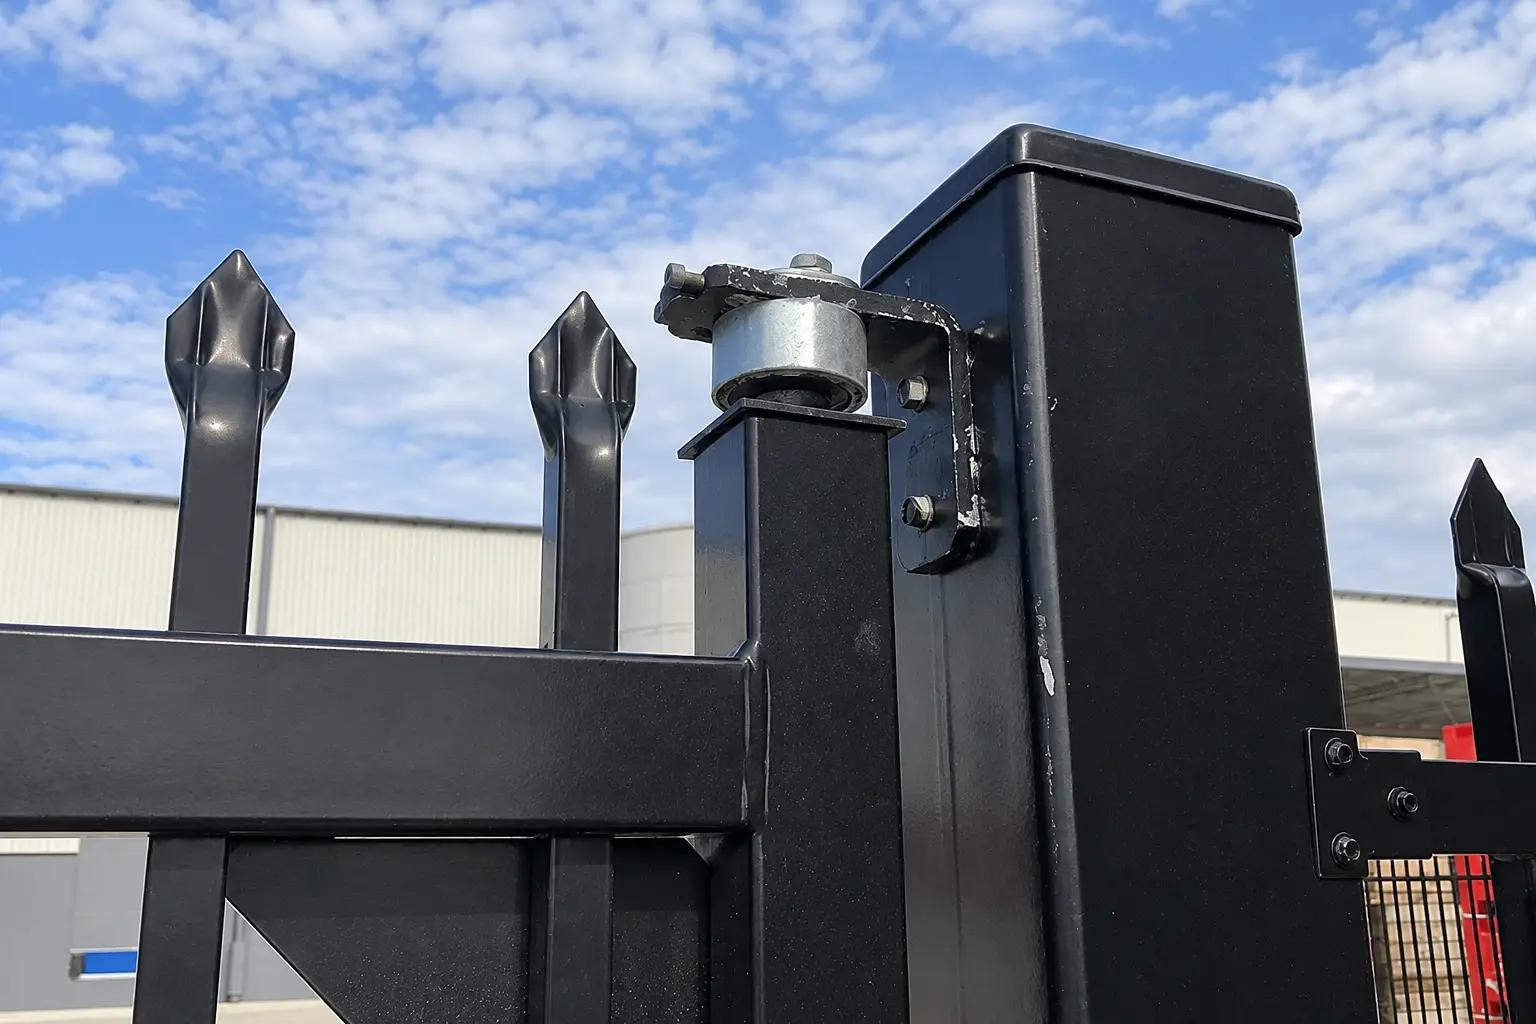
The visible stain is not always enough to identify the mechanism. Coating damage, deposits, crevice conditions and ordinary corrosion of exposed steel can occur alongside galvanic effects. Document the construction and exposure before selecting a repair.
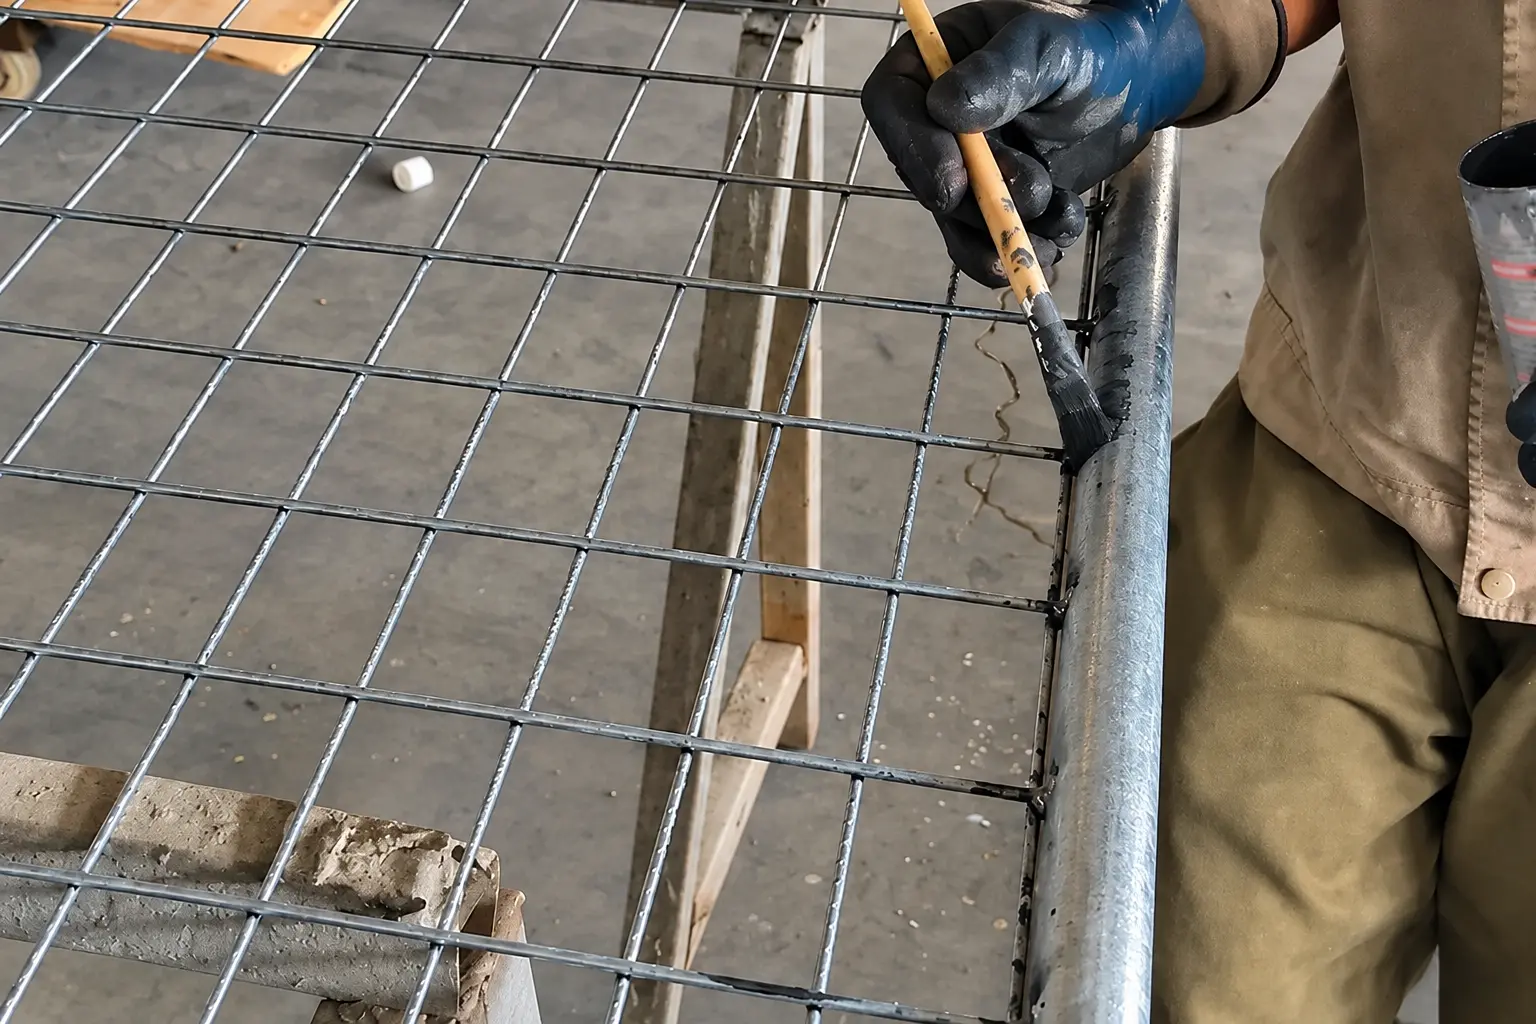
Map the contact surfaces
Draw or photograph the bolt, washer, bracket, post and panel as an assembly. Identify which surfaces touch electrically and which surfaces can remain wet. Include hidden sleeves and the underside of washers rather than looking only at the outer bolt head.
| Joint feature | Question to answer |
|---|---|
| Stainless fastener through aluminium | Is the surrounding aluminium exposed and persistently wet? |
| Large stainless bracket on small galvanised contact | What is the wetted area relationship and coating condition? |
| Coated bolt and cut hole | Was protection damaged during drilling or tightening? |
| Insulating washer | Is the shank still making metal-to-metal contact? |
| Sealed joint | Can water enter and remain trapped behind the seal? |
Do not treat the table as a ranking of safe and unsafe material pairs. It is a route to identifying the information required for a project-specific decision.
Use area ratios as a warning, not a design formula
Take two purely illustrative wetted-area arrangements. In the first, a 2 cm² exposed anodic area is coupled to 200 cm² of cathodic surface, giving a cathode-to-anode area ratio of 100:1. In the second, 200 cm² of anodic area is coupled to 2 cm² of cathodic surface, giving 0.01:1.
The ratios are very different, but neither converts directly into a corrosion rate. Electrolyte conductivity, geometry, surface films and time of wetness also matter. The example explains why “the bolt is small” is not a complete assessment and why reversing the material arrangement can change the risk.
Measure or estimate the relevant exposed wetted areas with a corrosion specialist where necessary. Do not use the gross area of a fully coated component as if every part were exposed to the same liquid path.
Review isolation as an engineered detail
A suitable isolation arrangement may involve washers, bushes, sleeves or gaskets, together with drainage and coating protection. It must break the intended contact paths while preserving the mechanical function. A washer alone may leave the bolt shank or another bracket edge electrically connected.
Isolation materials must withstand the assembly conditions. Soft or unsuitable material can creep, change clamping or degrade outdoors. The connection designer should approve the arrangement and any effect on fastener tightening, bearing and long-term movement.
Where a fence has an electrical bonding requirement, do not add insulating components without the electrical designer's agreement. Corrosion control and protective bonding have to be coordinated; improving one apparent detail by defeating another required function is not an acceptable substitution.
Investigate an affected joint systematically
- Record the component materials and the original coating route.
- Photograph deposits, staining, exposed metal and water traps before cleaning.
- Identify the wetting source and whether the joint dries between events.
- Compare an affected connection with an otherwise similar unaffected one.
- Obtain a repair or replacement detail that addresses the cause.
- Reinspect after the agreed interval and retain the observations.
This is an investigation sequence, not permission to loosen a loaded or safety-critical connection. Follow the asset owner's access and isolation arrangements and obtain competent assistance where the joint's condition or duty requires it.
For new procurement, put the complete fastener and isolation detail on the drawing. The coatings reference and local corrosion-protection guide help keep material selection, fabrication and repair information aligned.