
By FencingWise Editorial Team · Updated 17 September 2026.
Start at one intersection
In welded mesh, crossing wires are joined at their contact points. In woven mesh, wires pass around or interlace with one another; some agricultural constructions use separate knots. A close photograph of an intersection is therefore more useful for identification than a distant photograph of the boundary.
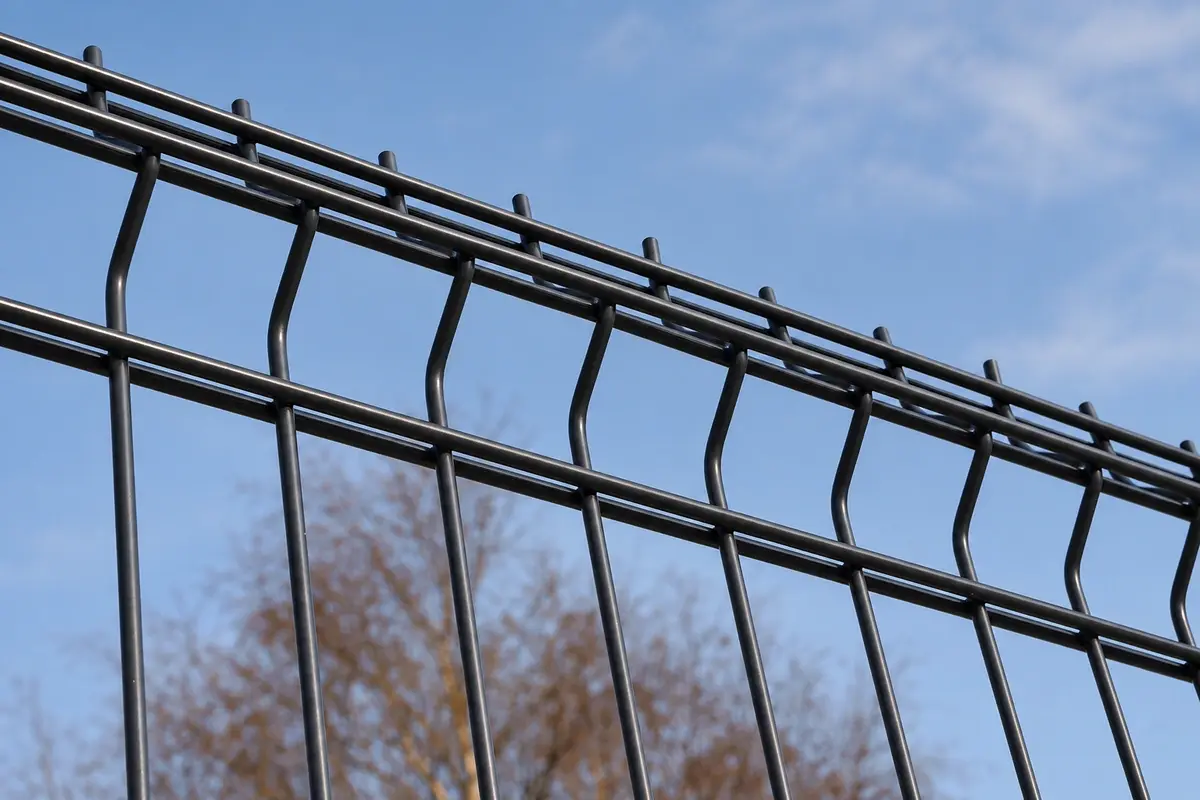
There is also a difference between identifying the construction and judging its performance. A thin welded roll and a rigid double-wire panel both contain welds, yet their support arrangements and intended uses differ. Similarly, chain link fabric and a woven agricultural fence do not share one universal tensioning detail.
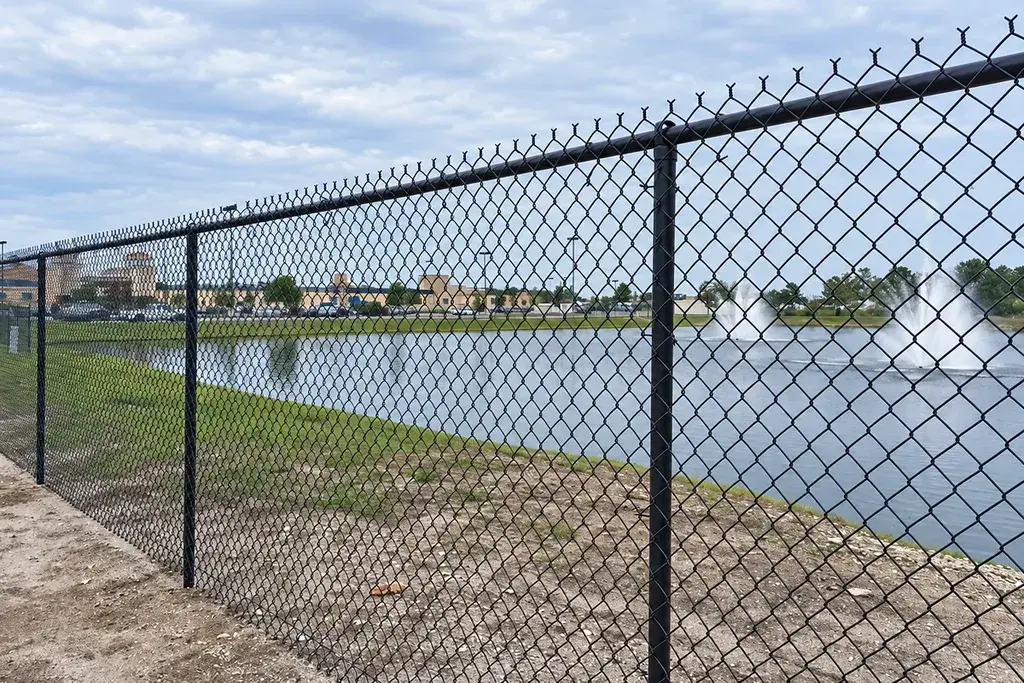
Use three photographs when identifying an unknown material: a whole section, a close view of an intersection, and a top or bottom edge. Include a scale in the close views. This provides the geometry needed to classify the mesh before asking for a replacement.
Separate the material into the right comparison group
| Product form | Useful identifying feature | What a quotation must describe |
|---|---|---|
| Rigid welded panel | Discrete panel with joined intersections and defined edges | Panel dimensions, wire arrangement, profile and post connection |
| Welded roll | Joined intersections in a continuous roll | Roll width and length, aperture, wire dimensions and support detail |
| Chain link fabric | Interwoven helices forming diamonds | Fabric height, mesh measurement, wire size and edge finish |
| Knotted agricultural mesh | Horizontal and vertical wires connected through a knot arrangement | Knot type, height, graduated openings and straining system |
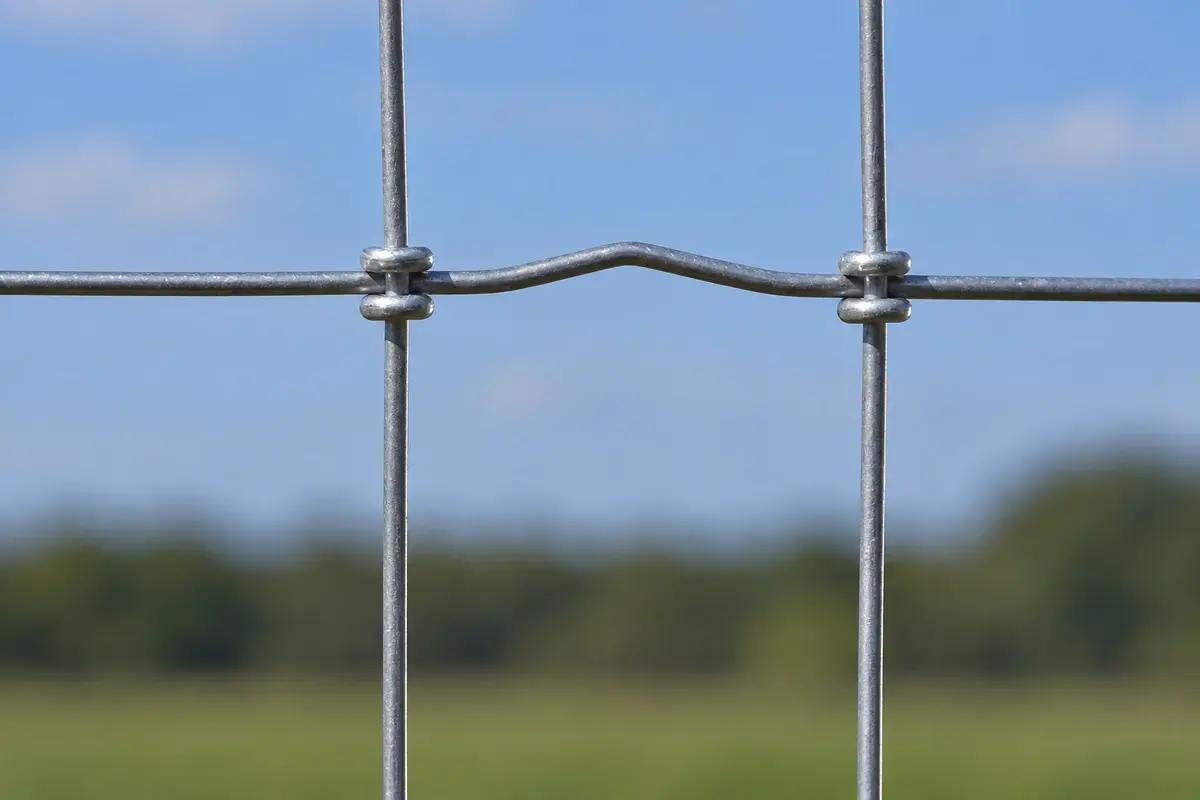
The comparison should stay within the application. A supplier offering welded roll as an alternative to a rigid panel has proposed a different fence construction, even if both descriptions contain “welded wire”. Evaluate the supporting parts and intended duty before treating the lower roll price as a saving.
Our welded panel and chain link comparison addresses two complete boundary options. This article instead helps you identify the material behind the name.
Measure the opening using the correct convention
For a rectangular welded mesh drawing, first establish whether its dimensions are wire centres or clear openings. Consider an illustrative single-wire mesh with 50 mm centres and a 4 mm finished wire diameter. Its clear space between parallel wires is:
50 − 4 = 46 mm.
That calculation describes one direction of this hypothetical mesh. It does not establish a supply tolerance or a security classification.
Chain link uses a different familiar measuring reference. The CLFMI product manual, description of terms defines its mesh size using the shortest clear distance between parallel sides. Measuring across the long diagonal of a diamond gives a different result.
Consequently, “50 mm welded mesh” and “50 mm chain link” are not enough to establish equal openings. Add a dimension arrow or measurement sketch to each specification. Keep aperture and wire diameter as separate fields.
Use wire dimensions to expose a misleading comparison
Suppose two welded materials have the same wire count, wire lengths and steel density, but one uses 3 mm wire and the other 4 mm wire. Their theoretical bare-wire mass ratio is the ratio of circular areas:
4² ÷ 3² = 16 ÷ 9 = 1.78.
Under those deliberately equal assumptions, the 4 mm material contains approximately 78% more bare-wire mass. This is a geometry result, not a statement that the fence is 78% stronger or that its price rises by that amount.
The assumptions seldom stay identical when comparing welded and woven products. Woven wire follows a shaped route; profiles add developed length; coatings and frames add material. Use the ratio to understand why wire size matters, then calculate each actual construction separately. The panel weight method shows the calculation for straight wires.
Compare how each option becomes a fence
A mesh quotation can omit the parts that make the material work. For rigid panels, identify the post connection, panel-edge support and closing-bay treatment. For chain link, identify terminals, line supports, tensioning components and the specified rail or wire arrangement.
An example illustrates the difference. A buyer needs a 20 m boundary and receives a price for one 20 m roll and another for eight nominal 2.5 m bays. Those are not complete, equivalent packages. The roll offer still needs its supporting system; the panel offer needs confirmation that 2.5 m is the installed bay dimension, together with posts and fittings.
Put those additions into separate lines. Only after the layouts meet the same brief should the buyer compare total material cost, packing and installation scope.
Follow a four-stage selection method
- Identify the construction. Record the intersection, roll or panel form, wire directions and edge arrangement.
- Normalise the measurements. Use millimetres for wire dimensions and label centres, clear openings and overall dimensions explicitly.
- List the installed components. Include the support and connection system, rather than pricing mesh alone.
- Check the required outcome. Examine the evidence for the specified application and identify changes needed for gates, levels or repairs.
If one offer cannot supply a complete description at a stage, keep that gap visible instead of filling it with the other supplier's detail.
For a replacement, matching the existing connection usually comes before changing the mesh family. For a new project, the design brief can allow several alternatives. In either case, the useful output is a comparison of identifiable assemblies, with differences marked, rather than a claim that one joining method is always best.